> ## Documentation Index
> Fetch the complete documentation index at: https://cookbook.mantavyam.com/llms.txt
> Use this file to discover all available pages before exploring further.
# Guliyappa Recipe
 | | |
| -------------- | ------------ |
| **Prep time** | 12 hr |
| **Cook time** | 30 min |
| **Total time** | 12 hr 30 min |
| **Serves** | 30 servings |
## Ingredients
* 1 cup urad dal / split black lentils
* 3 cup sona masuri rice / chawal / dosa rice
* ½ tsp menthe / fenugreek seeds
* 1 cup paper avalakki / beaten rice / poha
* few coriander leaves *(finely chopped)*
* 1 inch ginger *(finely chopped)*
* few curry leaves *(finely chopped)*
* 1 onion *(finely chopped)*
* salt to taste
* oil for greasing tawa
## Instructions
1. soak urad dal and rice, methi in a separate bowl and soak for 5 hours.
2. first drain the water from rice and blend to smooth batter.
3. transfer to a large vessel.
4. now blend urad dal to smooth fluffy batter.
5. now add a cup of paper avalakki to the blender.
6. transfer the batter into the same bowl and mix well.
7. cover and ferment in a warm place for 12 hours.
8. the next day you can see the batter has raised well indicating its well fermented.
9. mix the batter slightly.
10. take required batter in a different bowl.
11. finely chop onion, ginger, coriander leaves and curry leaves.
12. add fried onions and ginger, chopped coriander leaves, curry leaves and mix well.
13. also add in salt and mix the batter well.
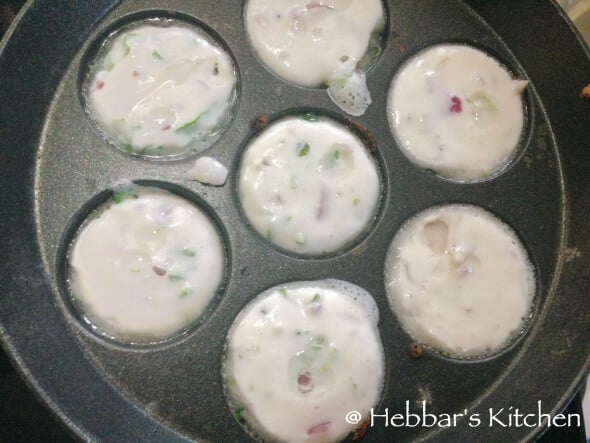
14. now slowly pour the batter into each of the moulds with the help of large spoon.
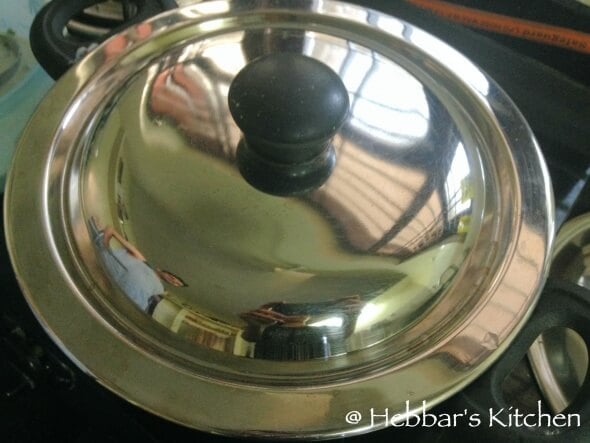
15. reduce the heat to medium and cook for 3 min with a closed lid.
16. once the batter gets cooked from bottom, slowly with the help of spoon flip it over and cook other side.
17. your paddu recipe is ready
## Step-by-step
soak urad dal and rice, methi in a separate bowl. add in enough water and soak for 5 hours.
| | |
| -------------- | ------------ |
| **Prep time** | 12 hr |
| **Cook time** | 30 min |
| **Total time** | 12 hr 30 min |
| **Serves** | 30 servings |
## Ingredients
* 1 cup urad dal / split black lentils
* 3 cup sona masuri rice / chawal / dosa rice
* ½ tsp menthe / fenugreek seeds
* 1 cup paper avalakki / beaten rice / poha
* few coriander leaves *(finely chopped)*
* 1 inch ginger *(finely chopped)*
* few curry leaves *(finely chopped)*
* 1 onion *(finely chopped)*
* salt to taste
* oil for greasing tawa
## Instructions
1. soak urad dal and rice, methi in a separate bowl and soak for 5 hours.
2. first drain the water from rice and blend to smooth batter.
3. transfer to a large vessel.
4. now blend urad dal to smooth fluffy batter.
5. now add a cup of paper avalakki to the blender.
6. transfer the batter into the same bowl and mix well.
7. cover and ferment in a warm place for 12 hours.
8. the next day you can see the batter has raised well indicating its well fermented.
9. mix the batter slightly.
10. take required batter in a different bowl.
11. finely chop onion, ginger, coriander leaves and curry leaves.
12. add fried onions and ginger, chopped coriander leaves, curry leaves and mix well.
13. also add in salt and mix the batter well.
14. now slowly pour the batter into each of the moulds with the help of large spoon.
15. reduce the heat to medium and cook for 3 min with a closed lid.
16. once the batter gets cooked from bottom, slowly with the help of spoon flip it over and cook other side.
17. your paddu recipe is ready
## Step-by-step
soak urad dal and rice, methi in a separate bowl. add in enough water and soak for 5 hours.
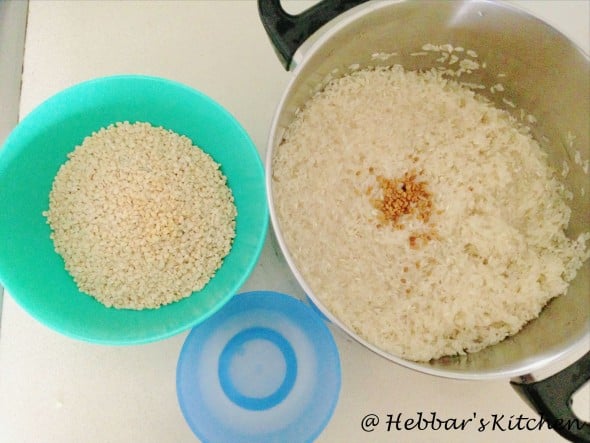 first drain the water from rice and blend to smooth batter. add water if required to make a smooth paste.
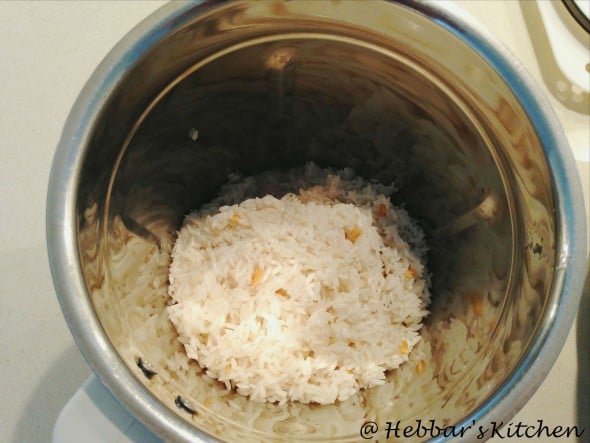 transfer to a large vessel. and keep aside
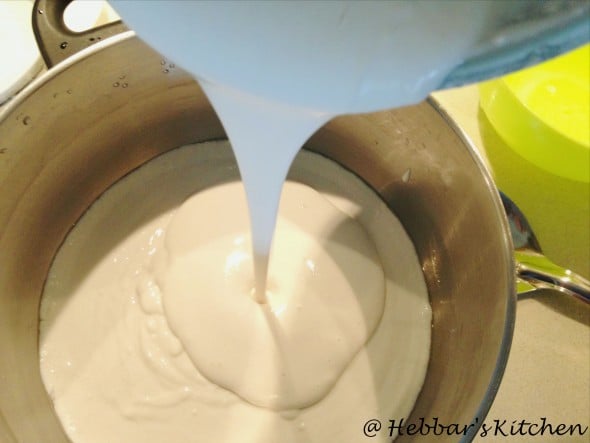 now blend urad dal to smooth fluffy batter.
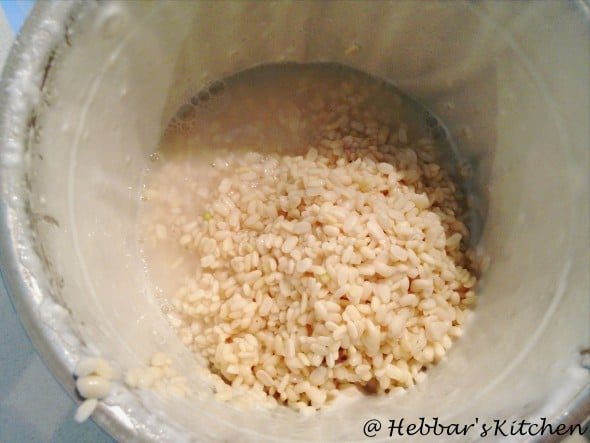 now add a cup of paper avalakki to the blender. and grind to a smooth thick paste.
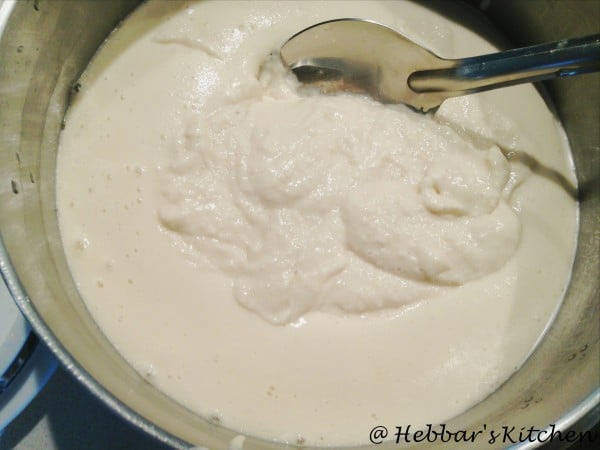
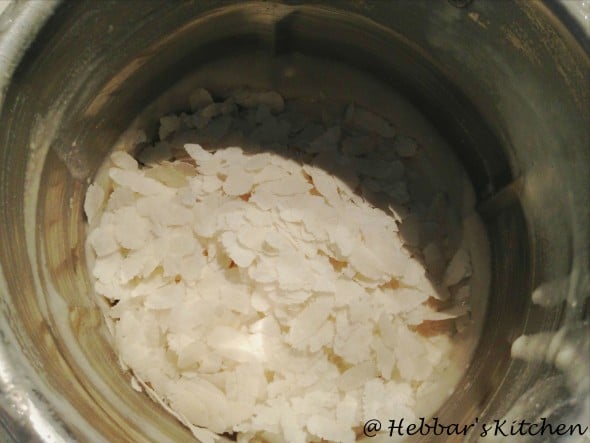 transfer the batter into the same bowl and mix well.
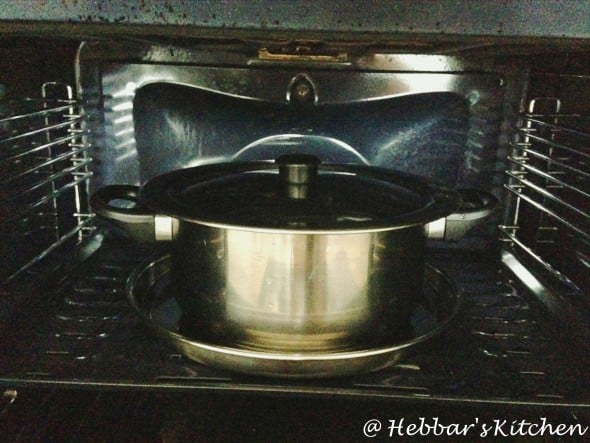
 cover and ferment in a warm place for 12 hours.
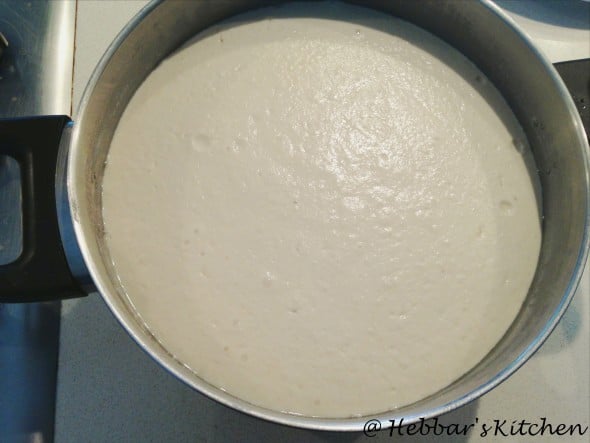
 the next day you can see the batter has raised well indicating its well fermented.
 mix the batter slightly.
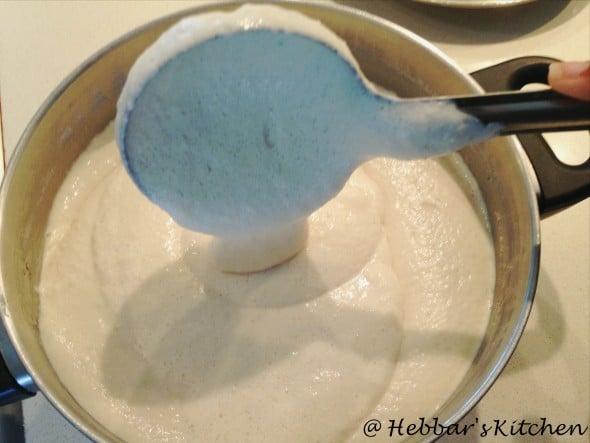 take required batter in a different bowl.
finely chop onion, ginger, coriander leaves and curry leaves.
[
take required batter in a different bowl.
finely chop onion, ginger, coriander leaves and curry leaves.
[ 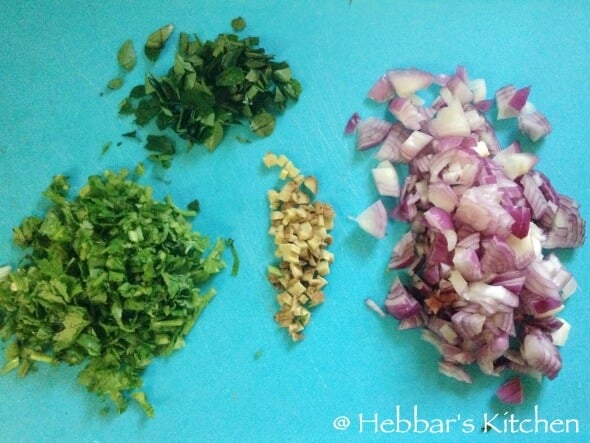 ](http://hebbarskitchen.com/wp-content/uploads/2015/12/guliyappa.jpg)
fry the onions and ginger with a table spoon of oil till they turn translucent.
[
](http://hebbarskitchen.com/wp-content/uploads/2015/12/guliyappa.jpg)
fry the onions and ginger with a table spoon of oil till they turn translucent.
[ 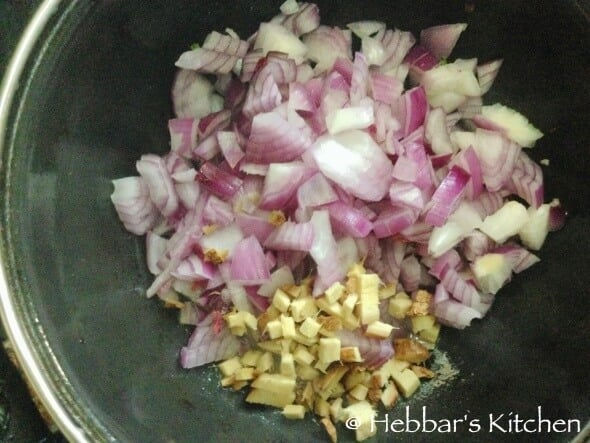 ](http://hebbarskitchen.com/wp-content/uploads/2015/12/guliyappa-11.jpg)
now add fried onions and ginger along with finely chopped coriander leaves, curry leaves to the batter and mix well.
[
](http://hebbarskitchen.com/wp-content/uploads/2015/12/guliyappa-11.jpg)
now add fried onions and ginger along with finely chopped coriander leaves, curry leaves to the batter and mix well.
[ 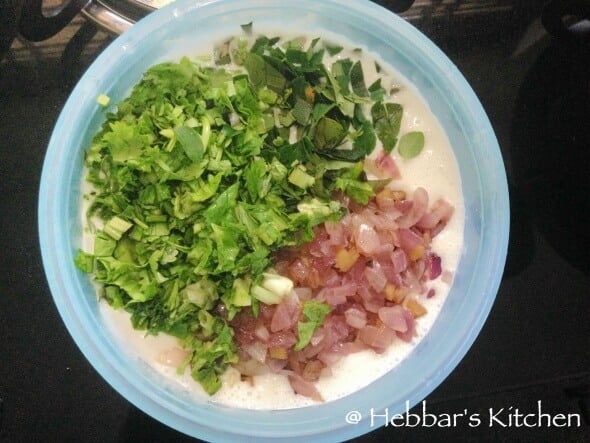 ](http://hebbarskitchen.com/wp-content/uploads/2015/12/guliyappa31.jpg)
also add in salt and mix the batter well.[
](http://hebbarskitchen.com/wp-content/uploads/2015/12/guliyappa31.jpg)
also add in salt and mix the batter well.[ 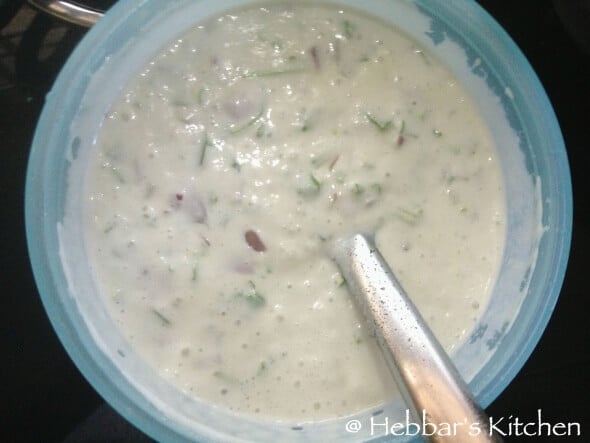 ](http://hebbarskitchen.com/wp-content/uploads/2015/12/guliyappa4.jpg)
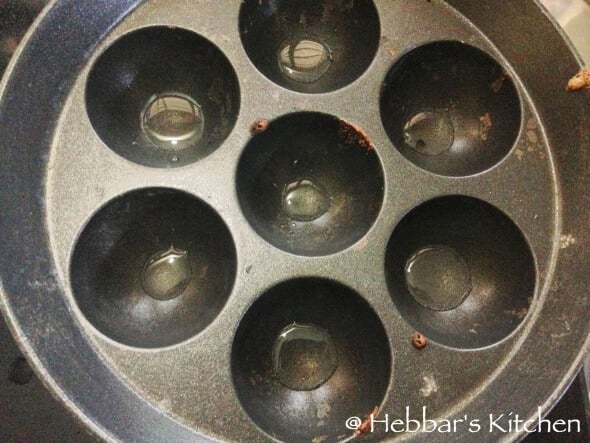
heat the guliyappa pan and a drop of oil in all moulds.
[
](http://hebbarskitchen.com/wp-content/uploads/2015/12/guliyappa4.jpg)
heat the guliyappa pan and a drop of oil in all moulds.
[  ](http://hebbarskitchen.com/wp-content/uploads/2015/12/guliyappa5.jpg)
now slowly pour the batter into each of the moulds with the help of large spoon.
[
](http://hebbarskitchen.com/wp-content/uploads/2015/12/guliyappa5.jpg)
now slowly pour the batter into each of the moulds with the help of large spoon.
[  ](http://hebbarskitchen.com/wp-content/uploads/2015/12/guliyappa6.jpg)
reduce the heat to medium and cook for 3 min with a closed lid.
[
](http://hebbarskitchen.com/wp-content/uploads/2015/12/guliyappa6.jpg)
reduce the heat to medium and cook for 3 min with a closed lid.
[  ](http://hebbarskitchen.com/wp-content/uploads/2015/12/guliyappa8.jpg)
once the batter gets cooked from bottom, slowly with the help of spoon flip it over and cook other side.
[
](http://hebbarskitchen.com/wp-content/uploads/2015/12/guliyappa8.jpg)
once the batter gets cooked from bottom, slowly with the help of spoon flip it over and cook other side.
[ 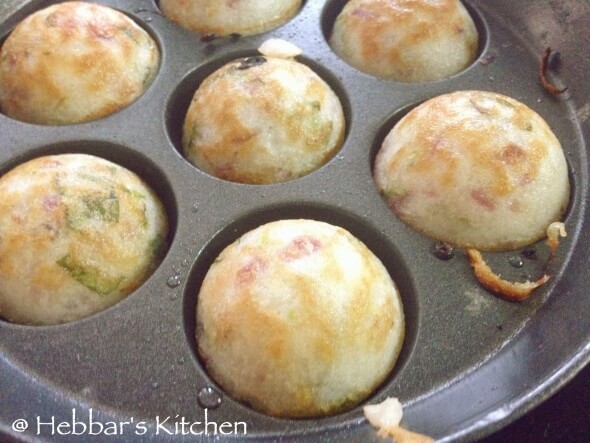 ](http://hebbarskitchen.com/wp-content/uploads/2015/12/guliyappa10.jpg)
remove the cooked guliyappas and serve hot with **[coconut chutney](http://hebbarskitchen.com/category/chutney/)** or chutney powder.
[
](http://hebbarskitchen.com/wp-content/uploads/2015/12/guliyappa10.jpg)
remove the cooked guliyappas and serve hot with **[coconut chutney](http://hebbarskitchen.com/category/chutney/)** or chutney powder.
[ 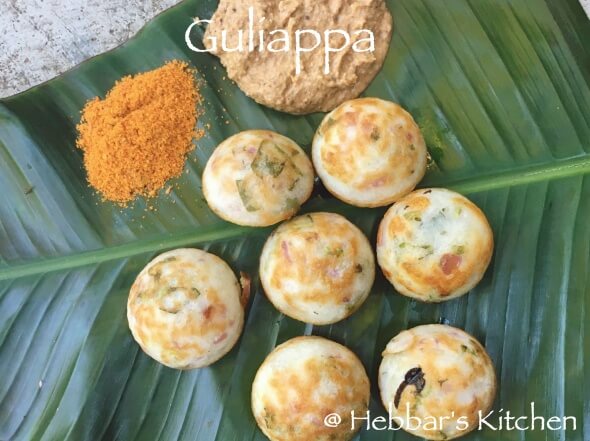 ](http://hebbarskitchen.com/wp-content/uploads/2015/12/guliyappa12.jpg)
## Notes
* first of all, if your guliyappa is not getting golden brown, add some sugar.
* in addition, adjust the consistency of the batter by adding required water.
* furthermore, to make it little spicy, add some chopped chilli.
* finally, skip the masala step and pour the batter directly to moulds, but these onion masala enhances the taste of guliyappa.
Original recipe by Hebbar's Kitchen: [https://hebbarskitchen.com/guliyappa-recipe-paddu-recipe/](https://hebbarskitchen.com/guliyappa-recipe-paddu-recipe/)
](http://hebbarskitchen.com/wp-content/uploads/2015/12/guliyappa12.jpg)
## Notes
* first of all, if your guliyappa is not getting golden brown, add some sugar.
* in addition, adjust the consistency of the batter by adding required water.
* furthermore, to make it little spicy, add some chopped chilli.
* finally, skip the masala step and pour the batter directly to moulds, but these onion masala enhances the taste of guliyappa.
Original recipe by Hebbar's Kitchen: [https://hebbarskitchen.com/guliyappa-recipe-paddu-recipe/](https://hebbarskitchen.com/guliyappa-recipe-paddu-recipe/)