> ## Documentation Index
> Fetch the complete documentation index at: https://cookbook.mantavyam.com/llms.txt
> Use this file to discover all available pages before exploring further.

# Gujiya Recipe

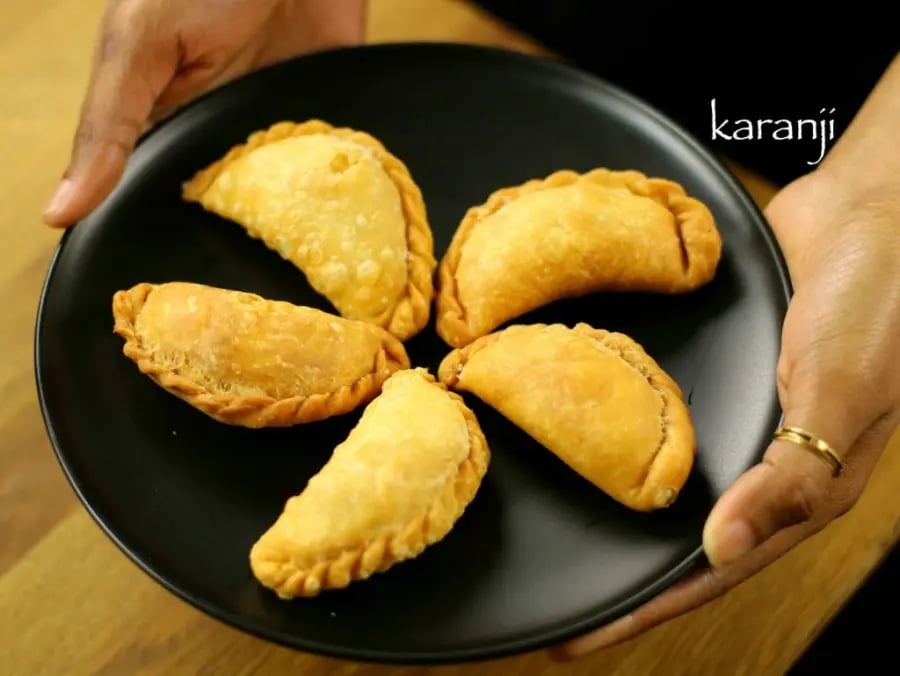
<img src="https://mintcdn.com/cookbook/YstPoztmut1uUFcP/images/heroes/karanji-recipe-gujiya-recipe-karjikai.webp?fit=max&auto=format&n=YstPoztmut1uUFcP&q=85&s=b217f44f3b67c75e2624c036032ea6d6" alt="Gujiya Recipe" className="rounded-xl" width="900" height="676" data-path="images/heroes/karanji-recipe-gujiya-recipe-karjikai.webp" />

<Accordion title="Time and servings" icon="clock" defaultOpen={true}>
  |                |             |
  | -------------- | ----------- |
  | **Prep time**  | 40 min      |
  | **Cook time**  | 15 min      |
  | **Total time** | 55 min      |
  | **Serves**     | 12 servings |
</Accordion>

## Ingredients

### for stuffing:

* ¾ cup dry coconut / kopra / desiccated coconut
* ½ cup powdered sugar
* 1 tbsp poppy seeds / khus khus
* 5 cashews *(chopped)*
* 10 rasins *(chopped)*
* 5 almonds *(chopped)*
* ¼ tsp cardamom powder

### for dough:

* 1 cup maida / all-purpose flour / plain flour
* salt to taste
* 2 tbsp ghee *(hot)*
* ½ cup warm milk *(or as required to knead dough)*

## Instructions

### karanji stuffing recipe:

1. firstly, in a large mixing bowl take dry coconut.
2. further add powdered sugar and poppy seeds.
3. further add chopped dry fruits.
4. then add cardamom powder and mix well.
5. finally, the stuffing is ready to prepare karanji. keep aside.

### karanji dough recipe:

1. firstly, in a large mixing bowl take maida and salt to taste.
2. further pour very hot ghee over maida.
3. now rub and crumble the dough well between your hands.
4. furthermore, add milk and knead the dough.
5. further, cover with a moist cloth and rest for 30 minutes.

### karanji recipe:

1. now pinch a small ball sized dough and roll it to a ball.
2. further, roll to a slightly thick puris and cut to a round shape.
3. also grease with warm milk to the edges of the puri.
4. now place a tsp of the prepared coconut stuffing in the middle of the puri.
5. now stick the edges together and press slightly.
6. furthemore, press the edge gently and fold it inside.
7. now take the tip that comes out press it again and fold it.
8. furthermore, deep fry the karanjis till they turn golden brown.
9. finally, drain over the kitchen towel and serve.

## Karanji stuffing recipe

<Steps>
  <Step>
    firstly, in a large mixing bowl take dry coconut.

    <img src="https://hebbarskitchen.com/wp-content/uploads/2016/10/karanji-recipe-gujiya-recipe-karjikai-recipe-kajjikayalu-recipe-1.jpeg" alt="karanji" referrerPolicy="no-referrer" loading="lazy" className="rounded-lg" />
  </Step>

  <Step>
    further add powdered sugar to it. add ½-¾ cup of sugar depending on the sweetness you like.

    <img src="https://hebbarskitchen.com/wp-content/uploads/2016/10/karanji-recipe-gujiya-recipe-karjikai-recipe-kajjikayalu-recipe-2.jpeg" alt="karanji" referrerPolicy="no-referrer" loading="lazy" className="rounded-lg" />
  </Step>

  <Step>
    also add poppy seeds.

    <img src="https://hebbarskitchen.com/wp-content/uploads/2016/10/karanji-recipe-gujiya-recipe-karjikai-recipe-kajjikayalu-recipe-3.jpeg" alt="karanji" referrerPolicy="no-referrer" loading="lazy" className="rounded-lg" />
  </Step>

  <Step>
    further add chopped dry fruits like cashews, almonds and raisins. add any dryfruits of your choice.

    <img src="https://hebbarskitchen.com/wp-content/uploads/2016/10/karanji-recipe-gujiya-recipe-karjikai-recipe-kajjikayalu-recipe-4.jpeg" alt="karanji" referrerPolicy="no-referrer" loading="lazy" className="rounded-lg" />
  </Step>

  <Step>
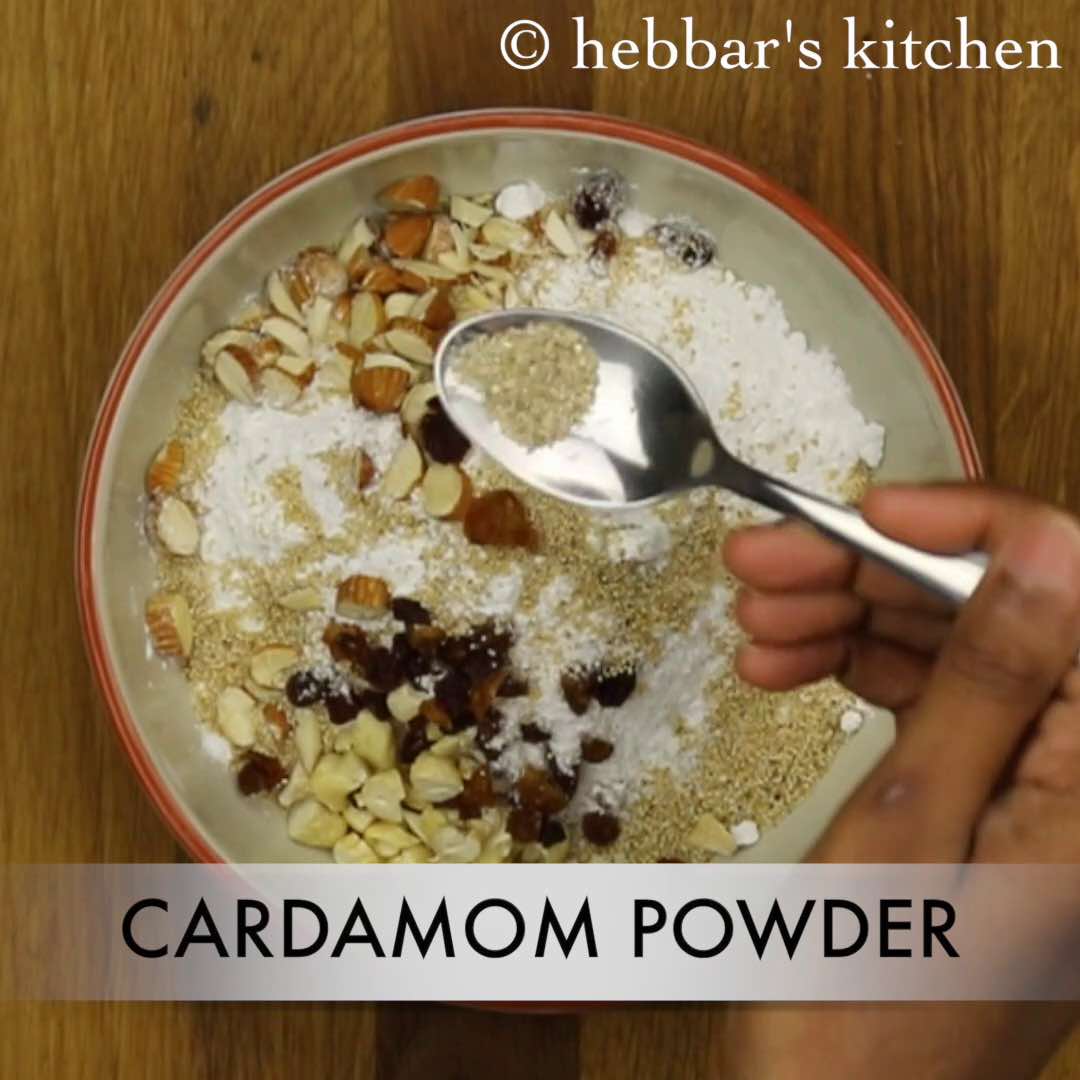
    then add cardamom powder and mix well.

    <img src="https://hebbarskitchen.com/wp-content/uploads/2016/10/karanji-recipe-gujiya-recipe-karjikai-recipe-kajjikayalu-recipe-5.jpeg" alt="karanji" referrerPolicy="no-referrer" loading="lazy" className="rounded-lg" />
  </Step>

  <Step>
    finally, the stuffing is ready to prepare karanji. keep aside.

    <img src="https://hebbarskitchen.com/wp-content/uploads/2016/10/karanji-recipe-gujiya-recipe-karjikai-recipe-kajjikayalu-recipe-6.jpeg" alt="karanji" referrerPolicy="no-referrer" loading="lazy" className="rounded-lg" />
  </Step>
</Steps>

## Karanji dough recipe

<Steps>
  <Step>
    firstly, in a large mixing bowl take maida and salt to taste.

    <img src="https://hebbarskitchen.com/wp-content/uploads/2016/10/karanji-recipe-gujiya-recipe-karjikai-recipe-kajjikayalu-recipe-7.jpeg" alt="karanji" referrerPolicy="no-referrer" loading="lazy" className="rounded-lg" />
  </Step>

  <Step>
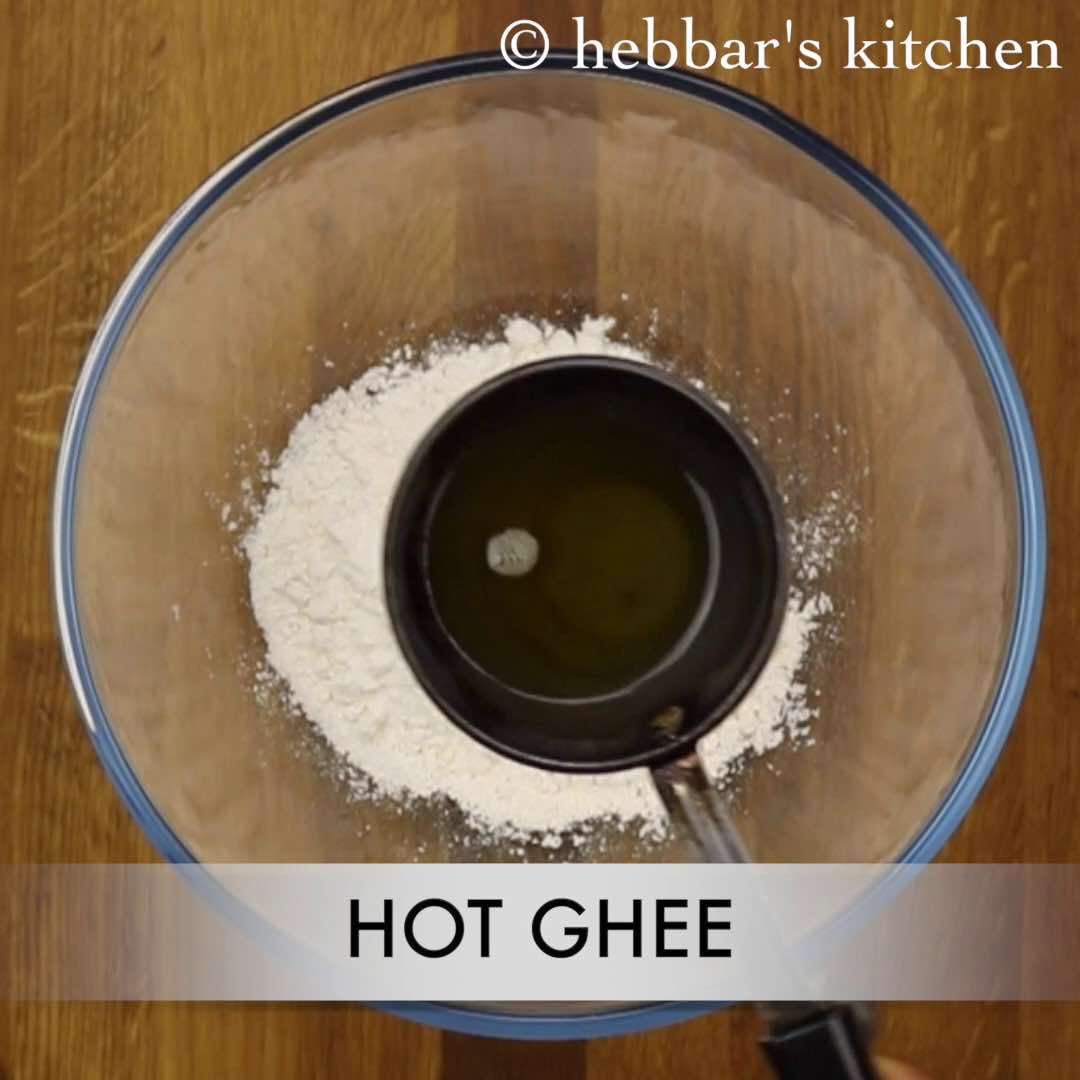
    further pour very hot ghee over maida. make sure to get sizzling sound. this helps to make karanji crispy and oil free.

    <img src="https://hebbarskitchen.com/wp-content/uploads/2016/10/karanji-recipe-gujiya-recipe-karjikai-recipe-kajjikayalu-recipe-8.jpeg" alt="gujiya" referrerPolicy="no-referrer" loading="lazy" className="rounded-lg" />
  </Step>

  <Step>
    now rub and crumble the dough well between your hands. be careful as the ghee is very hot.

    <img src="https://hebbarskitchen.com/wp-content/uploads/2016/10/karanji-recipe-gujiya-recipe-karjikai-recipe-kajjikayalu-recipe-9.jpeg" alt="gujiya" referrerPolicy="no-referrer" loading="lazy" className="rounded-lg" />
  </Step>

  <Step>
    furthermore, add milk little by little and start to knead the dough.

    <img src="https://hebbarskitchen.com/wp-content/uploads/2016/10/karanji-recipe-gujiya-recipe-karjikai-recipe-kajjikayalu-recipe-10.jpeg" alt="gujiya" referrerPolicy="no-referrer" loading="lazy" className="rounded-lg" />
  </Step>

  <Step>
    knead the dough to soft and non sticky.

    <img src="https://hebbarskitchen.com/wp-content/uploads/2016/10/karanji-recipe-gujiya-recipe-karjikai-recipe-kajjikayalu-recipe-11.jpeg" alt="gujiya" referrerPolicy="no-referrer" loading="lazy" className="rounded-lg" />
  </Step>

  <Step>
    further, cover with a moist cloth and rest for 20-30 minutes.

    <img src="https://hebbarskitchen.com/wp-content/uploads/2016/10/karanji-recipe-gujiya-recipe-karjikai-recipe-kajjikayalu-recipe-12.jpeg" alt="gujiya" referrerPolicy="no-referrer" loading="lazy" className="rounded-lg" />
  </Step>
</Steps>

## Karanji recipe

<Steps>
  <Step>
    now pinch a small ball sized dough and roll it to a ball.

    <img src="https://hebbarskitchen.com/wp-content/uploads/2016/10/karanji-recipe-gujiya-recipe-karjikai-recipe-kajjikayalu-recipe-13.jpeg" alt="gujiya" referrerPolicy="no-referrer" loading="lazy" className="rounded-lg" />
  </Step>

  <Step>
    further, with the help rolling pin roll to a slightly thick puris and cut it with a round jar cap.

    <img src="https://hebbarskitchen.com/wp-content/uploads/2016/10/karanji-recipe-gujiya-recipe-karjikai-recipe-kajjikayalu-recipe-15.jpeg" alt="karjikai" referrerPolicy="no-referrer" loading="lazy" className="rounded-lg" />
  </Step>

  <Step>
    also grease with warm milk to the edges of the puri.

    <img src="https://hebbarskitchen.com/wp-content/uploads/2016/10/karanji-recipe-gujiya-recipe-karjikai-recipe-kajjikayalu-recipe-16.jpeg" alt="karjikai" referrerPolicy="no-referrer" loading="lazy" className="rounded-lg" />
  </Step>

  <Step>
    now place a tsp of the prepared coconut stuffing in the middle of the puri.

    <img src="https://hebbarskitchen.com/wp-content/uploads/2016/10/karanji-recipe-gujiya-recipe-karjikai-recipe-kajjikayalu-recipe-18.jpeg" alt="karjikai" referrerPolicy="no-referrer" loading="lazy" className="rounded-lg" />
  </Step>

  <Step>
    further get together the stuffing to centre, creating space at the sides.

    <img src="https://hebbarskitchen.com/wp-content/uploads/2016/10/karanji-recipe-gujiya-recipe-karjikai-recipe-kajjikayalu-recipe-19.jpeg" alt="kajjikayalu" referrerPolicy="no-referrer" loading="lazy" className="rounded-lg" />
  </Step>

  <Step>
    now stick the edges together and press slightly.

    <img src="https://hebbarskitchen.com/wp-content/uploads/2016/10/karanji-recipe-gujiya-recipe-karjikai-recipe-kajjikayalu-recipe-20.jpeg" alt="kajjikayalu" referrerPolicy="no-referrer" loading="lazy" className="rounded-lg" />
  </Step>

  <Step>
    furthemore, press the edge gently and fold it inside.

    <img src="https://hebbarskitchen.com/wp-content/uploads/2016/10/karanji-recipe-gujiya-recipe-karjikai-recipe-kajjikayalu-recipe-21.jpeg" alt="kajjikayalu" referrerPolicy="no-referrer" loading="lazy" className="rounded-lg" />
  </Step>

  <Step>
    now take the tip that comes out press it again and fold it.

    <img src="https://hebbarskitchen.com/wp-content/uploads/2016/10/karanji-recipe-gujiya-recipe-karjikai-recipe-kajjikayalu-recipe-22.jpeg" alt="kajjikayalu" referrerPolicy="no-referrer" loading="lazy" className="rounded-lg" />
  </Step>

  <Step>
    keep continuing the process till you reach the end.

    <img src="https://hebbarskitchen.com/wp-content/uploads/2016/10/karanji-recipe-gujiya-recipe-karjikai-recipe-kajjikayalu-recipe-23.jpeg" alt="kajjikayalu" referrerPolicy="no-referrer" loading="lazy" className="rounded-lg" />
  </Step>

  <Step>
    furthermore, deep fry the karanjis in medium hot oil in low to medium flame.

    <img src="https://hebbarskitchen.com/wp-content/uploads/2016/10/karanji-recipe-gujiya-recipe-karjikai-recipe-kajjikayalu-recipe-24.jpeg" alt="kajjikayalu" referrerPolicy="no-referrer" loading="lazy" className="rounded-lg" />
  </Step>

  <Step>
    stir occasionally till the karanjis turn golden brown.

    <img src="https://hebbarskitchen.com/wp-content/uploads/2016/10/karanji-recipe-gujiya-recipe-karjikai-recipe-kajjikayalu-recipe-25.jpeg" alt="karanji" referrerPolicy="no-referrer" loading="lazy" className="rounded-lg" />
  </Step>

  <Step>
    further, drain over the kitchen towel to remove excess oil.

    <img src="https://hebbarskitchen.com/wp-content/uploads/2016/10/karanji-recipe-gujiya-recipe-karjikai-recipe-kajjikayalu-recipe-26.jpeg" alt="karanji" referrerPolicy="no-referrer" loading="lazy" className="rounded-lg" />
  </Step>

  <Step>
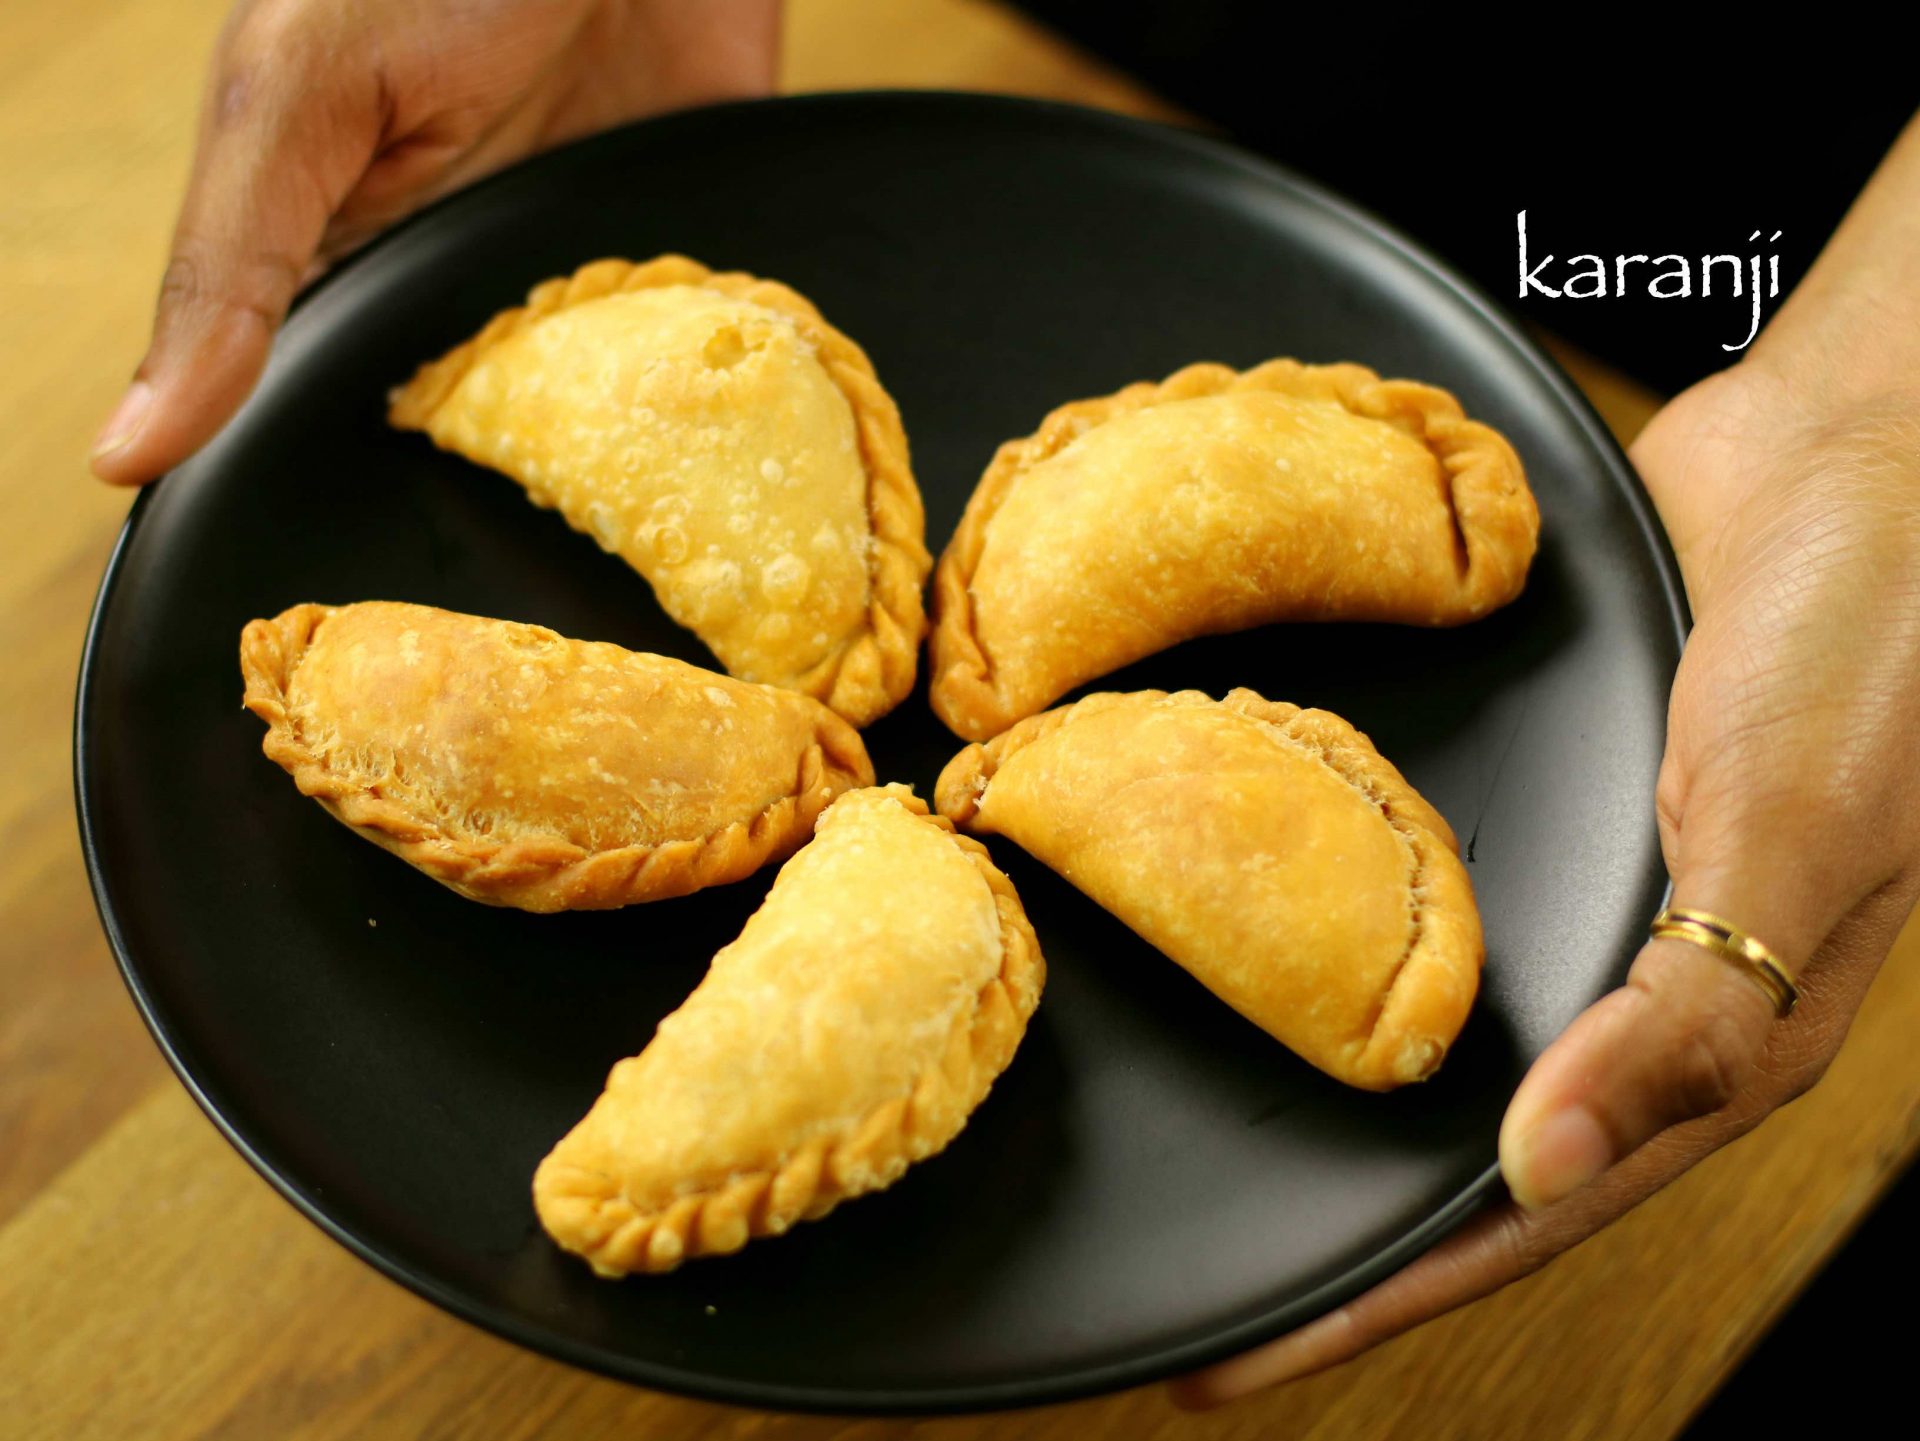
    finally, karanjis are ready to be served. cool completely before storing in a airtight container.

    <img src="https://hebbarskitchen.com/wp-content/uploads/2016/10/karanji-recipe-gujiya-recipe-karjikai-recipe-kajjikayalu-recipe-27-1920x1441.jpeg" alt="karanji" referrerPolicy="no-referrer" loading="lazy" className="rounded-lg" />
  </Step>
</Steps>

## Video

<iframe className="w-full aspect-video rounded-xl" src="https://www.youtube.com/embed/XNS3J-HTwW4" title="Video recipe" frameborder="0" allow="accelerometer; clipboard-write; encrypted-media; picture-in-picture" allowfullscreen />

## Notes

* firstly, fry the karanjis in medium hot oil in low to medium flame. else they will not cook from inside.

* also, vary the stuffing to your choice.

* additionally, adding hot ghee makes karanji crispy and oil free.

* finally, to make gujiya more crispy add a tbsp of rava while kneading dough.

<Note>
  Original recipe by Hebbar's Kitchen: [https://hebbarskitchen.com/karanji-recipe-gujiya-recipe-karjikai/](https://hebbarskitchen.com/karanji-recipe-gujiya-recipe-karjikai/)
</Note>