> ## Documentation Index
> Fetch the complete documentation index at: https://cookbook.mantavyam.com/llms.txt
> Use this file to discover all available pages before exploring further.
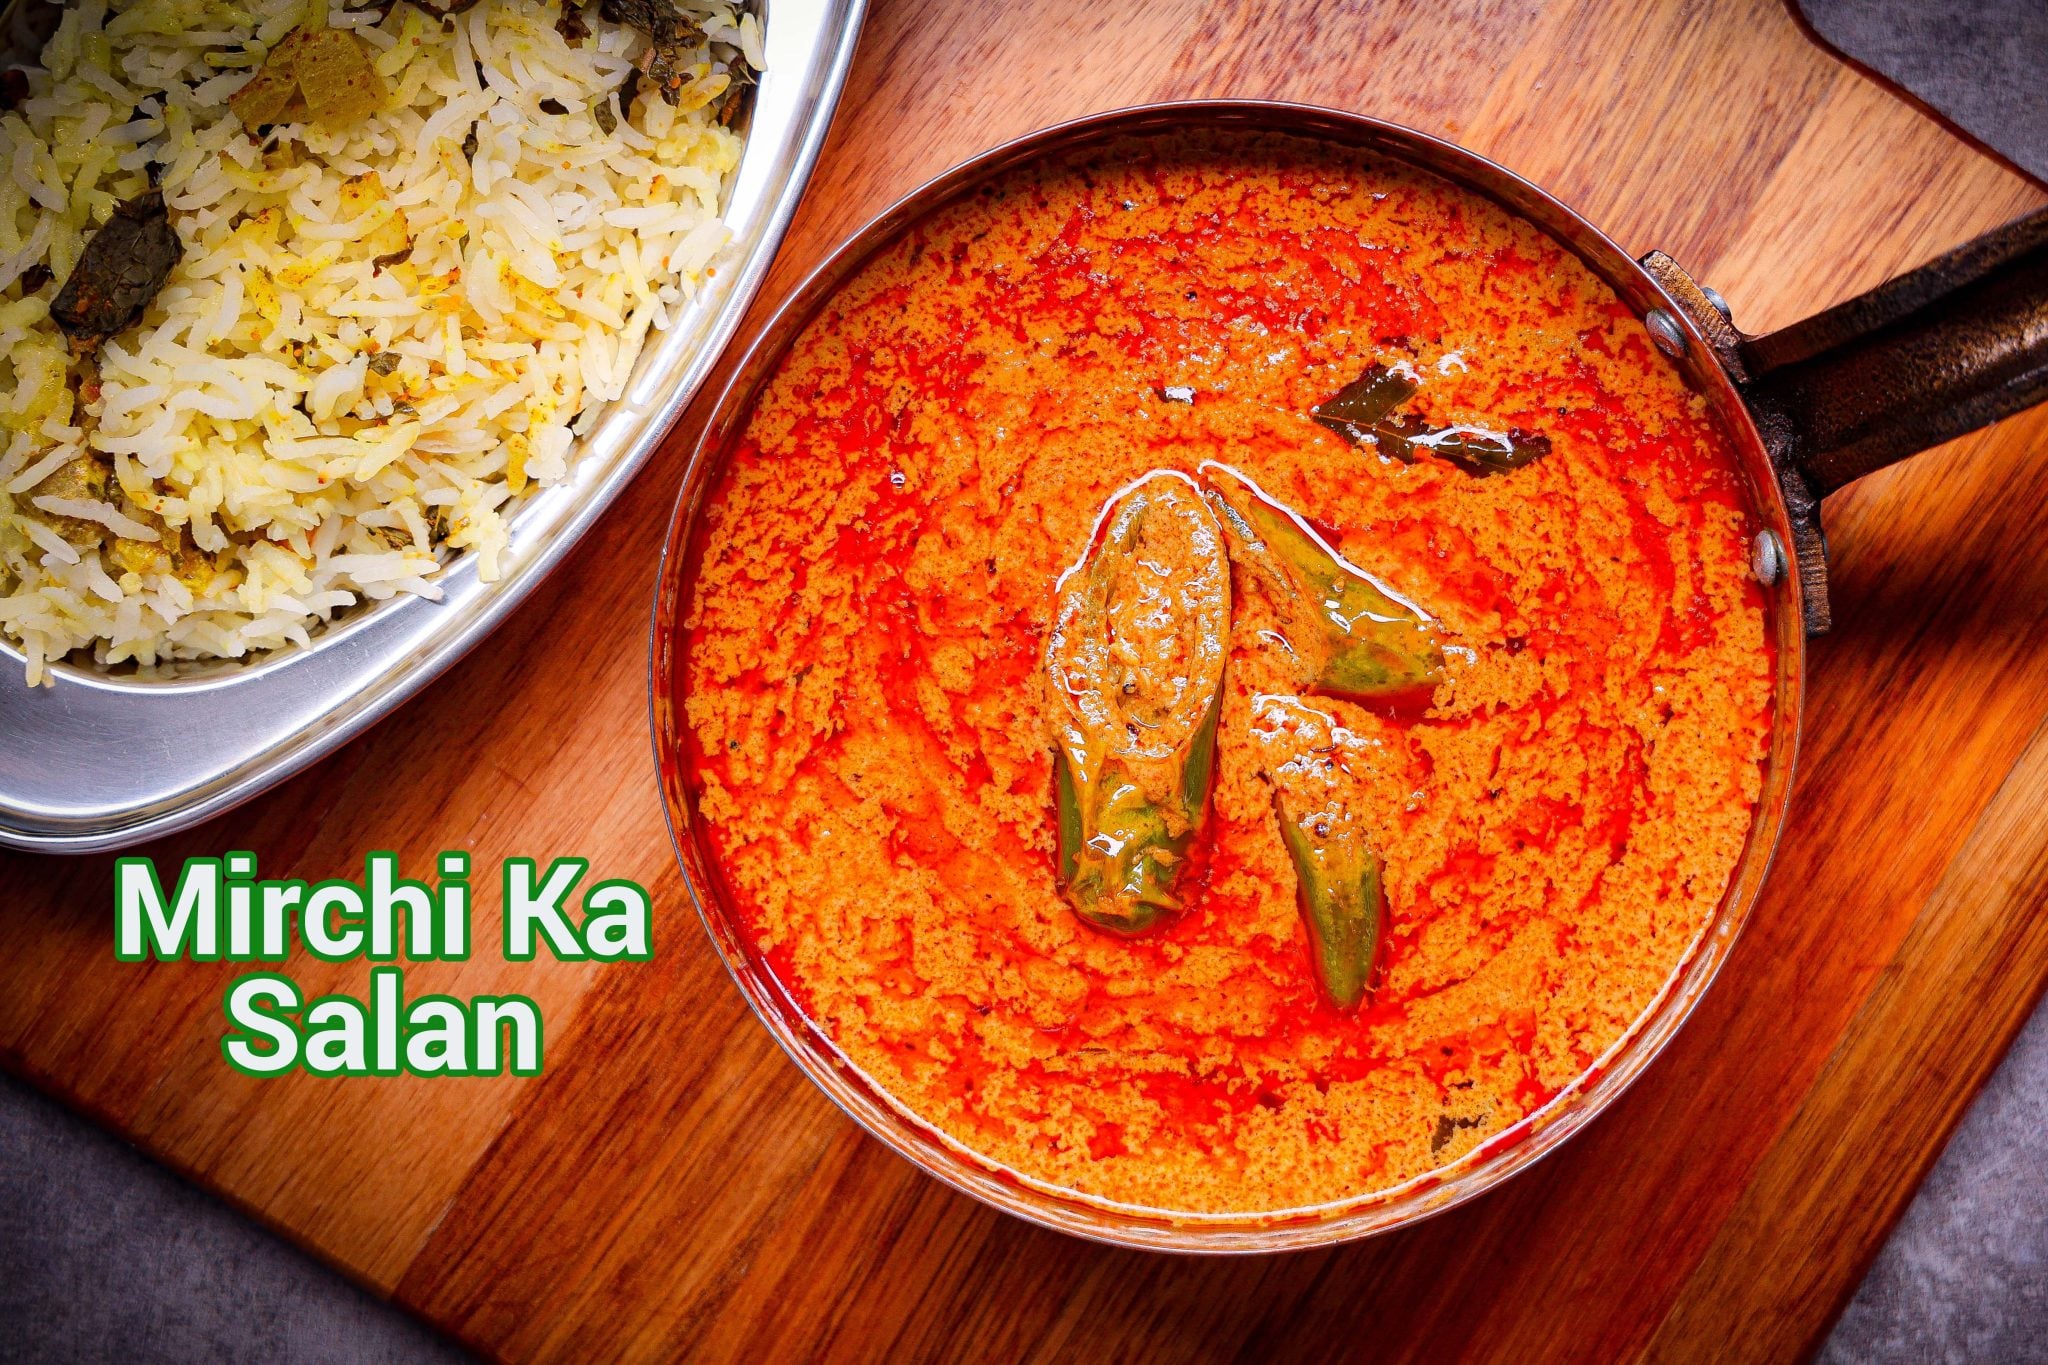
# Mirchi Ka Salan Recipe
| | |
| -------------- | ---------- |
| **Prep time** | 5 min |
| **Cook time** | 20 min |
| **Total time** | 25 min |
| **Serves** | 6 servings |
Per servings.
| Nutrient | Amount |
| ------------- | -------- |
| Calories | 148 kcal |
| Carbohydrates | 7 g |
| Protein | 3 g |
| Fat | 13 g |
| Saturated fat | 2 g |
| Sodium | 410 mg |
| Potassium | 204 mg |
| Fiber | 2 g |
| Sugar | 3 g |
| Vitamin A | 389 IU |
| Vitamin C | 44 mg |
| Calcium | 67 mg |
| Iron | 2 mg |
## About
**Mirchi ka Salan Recipe – Hyderabadi Salan Restaurant Style** is a rich and flavorful curry that complements the authentic Hyderabadi Dum Biryani experience. The biryani, cooked slowly in layers, tends to be slightly dry, and this thick, nutty curry adds the perfect balance of moisture and flavour. Made with a blend of roasted peanuts, sesame seeds, and coconut, it gives a creamy and silky texture that enhances every bite. The tangy tamarind and mild spice from green chillies create a deep, satisfying flavour. It helps tone down the heat of the biryani while adding a pleasant richness to the dish. Each spoonful soaks into the rice, making it moist and aromatic. The curry is slow-cooked until the oil separates, giving it a restaurant-style finish and deep golden colour. It not only complements the layered rice but also elevates the overall taste of the meal.
This Hyderabadi Salan is versatile and pairs beautifully with a variety of Indian dishes. It serves as an excellent gravy for parotta, chapathi, roti, and even vegetable pulao. The medium-thick texture allows it to cling to both rice and flatbreads. Many households prepare it in larger batches and refrigerate it for quick use during busy days. It stays fresh for several days. Also, it can be easily reheated without losing flavour. The consistency can be adjusted from thick to thin, depending on the meal it accompanies. Its nutty and tangy profile makes it suitable for both everyday meals and festive spreads. The rich aroma of sesame and peanuts gives the dish a signature Hyderabadi touch. Whether served for lunch or dinner, it instantly turns any meal into something special. It stands as a symbol of comfort, taste, and tradition in Hyderabadi cuisine.
**Fun Fact:**
Mirchi ka Salan was once considered a royal delicacy in the Nizam’s kitchen and was traditionally served alongside biryani during royal banquets to balance the spice and richness of the meal.
## Ingredients
### For masala paste:
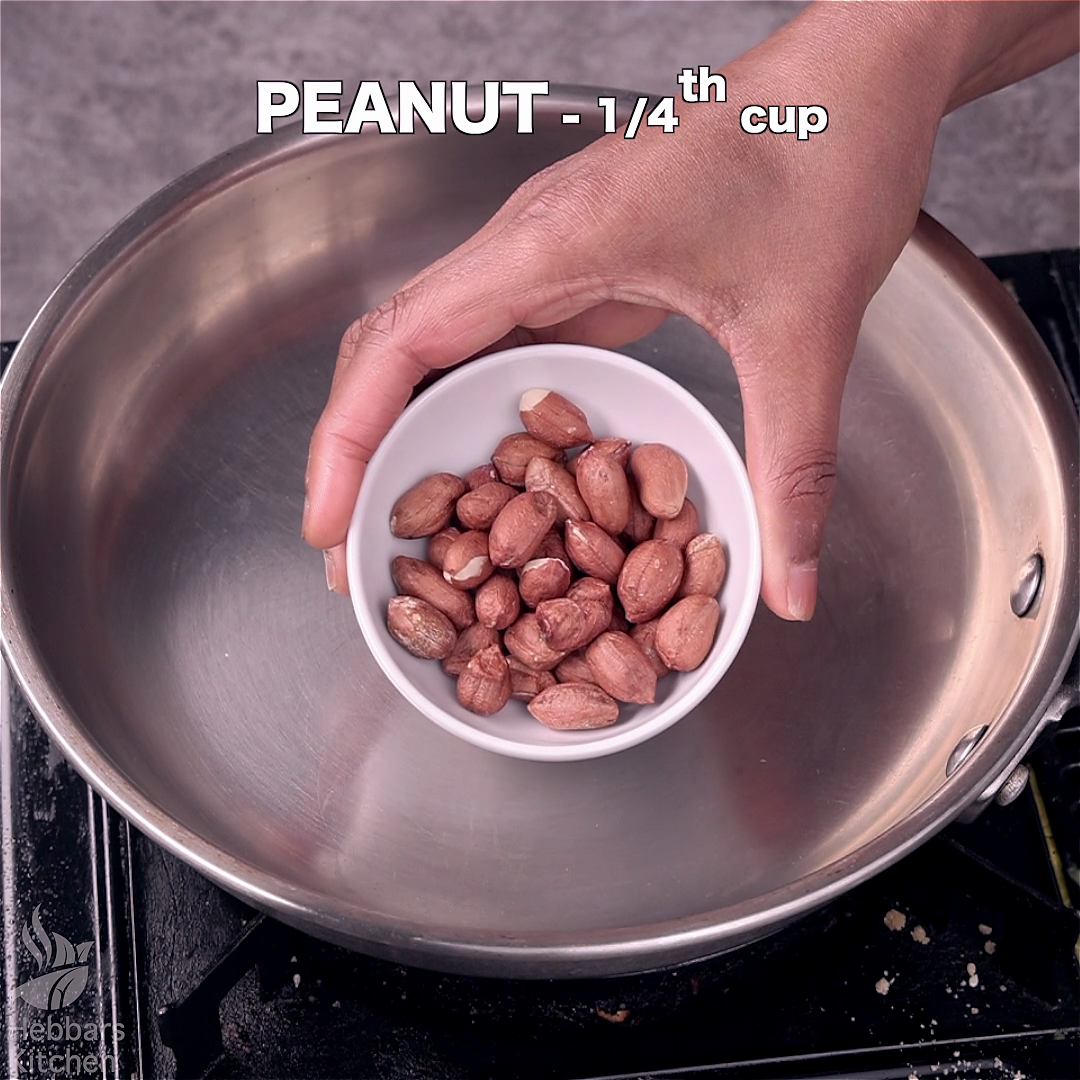
* ¼ cup peanut
* 2 tbsp sesame
* 2 tsp poppy seeds
* 2 tbsp dry coconut
* small piece tamarind
* water *(for grinding)*
### For salan:
* 3 tbsp oil
* ½ tsp mustard
* ½ tsp cumin
* ¼ tsp methi
* pinch hing
* few curry leaves
* ½ tsp turmeric
* 5 cloves garlic *(finely chopped)*
* 1 inch ginger *(finely chopped)*
* 4 chilli *(chopped)*
* 1 tsp chilli powder
* ½ tsp cumin powder
* 1 tsp coriander powder
* 1 tsp garam masala
* 1 tsp salt
* 1 tsp jaggery
* 3 cup hot water
## Instructions
1. Firstly, in a pan, dry-roast ¼ cup of peanuts until they turn crunchy.
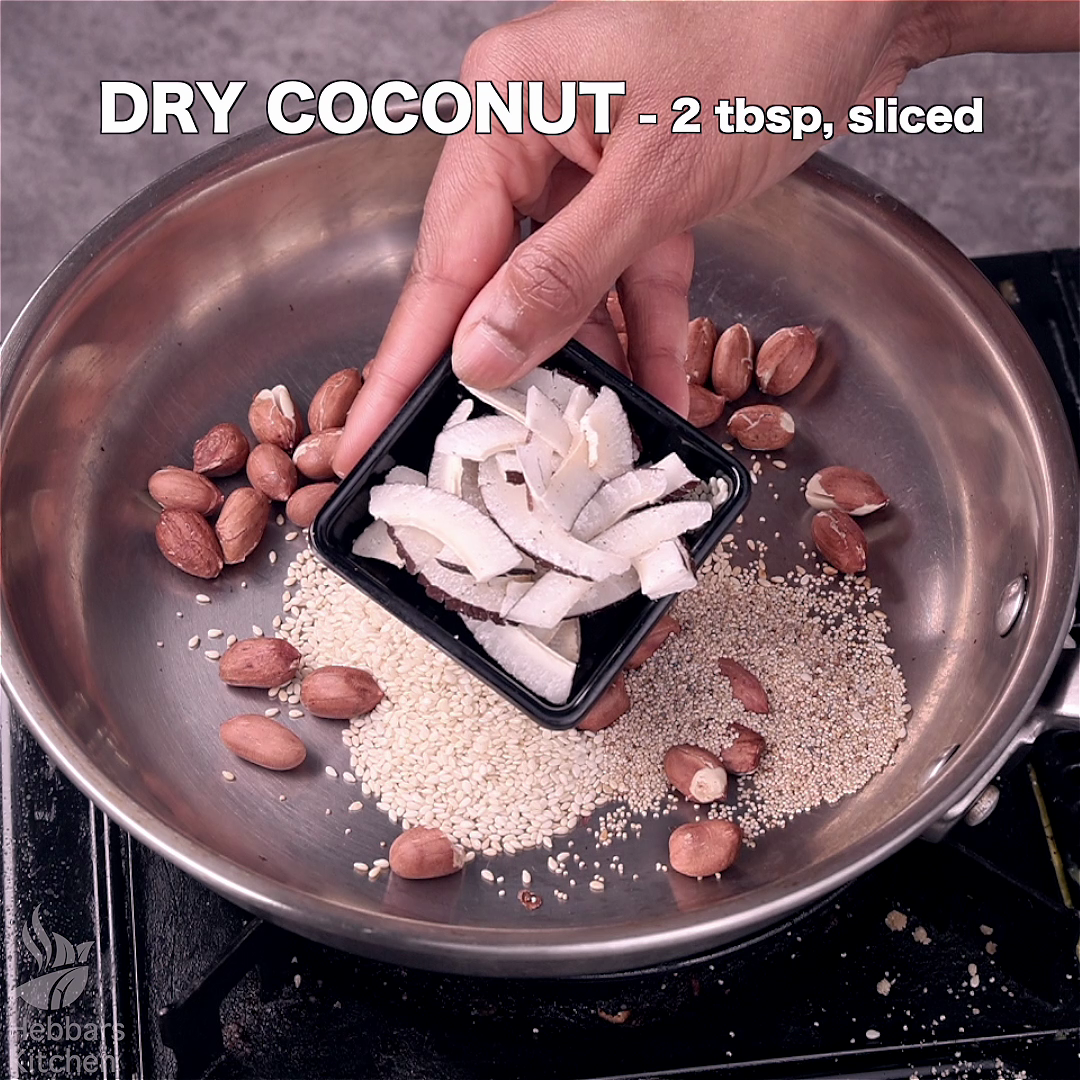
2. Add 2 tbsp sesame, 2 tsp poppy seeds and 2 tbsp dry coconut.
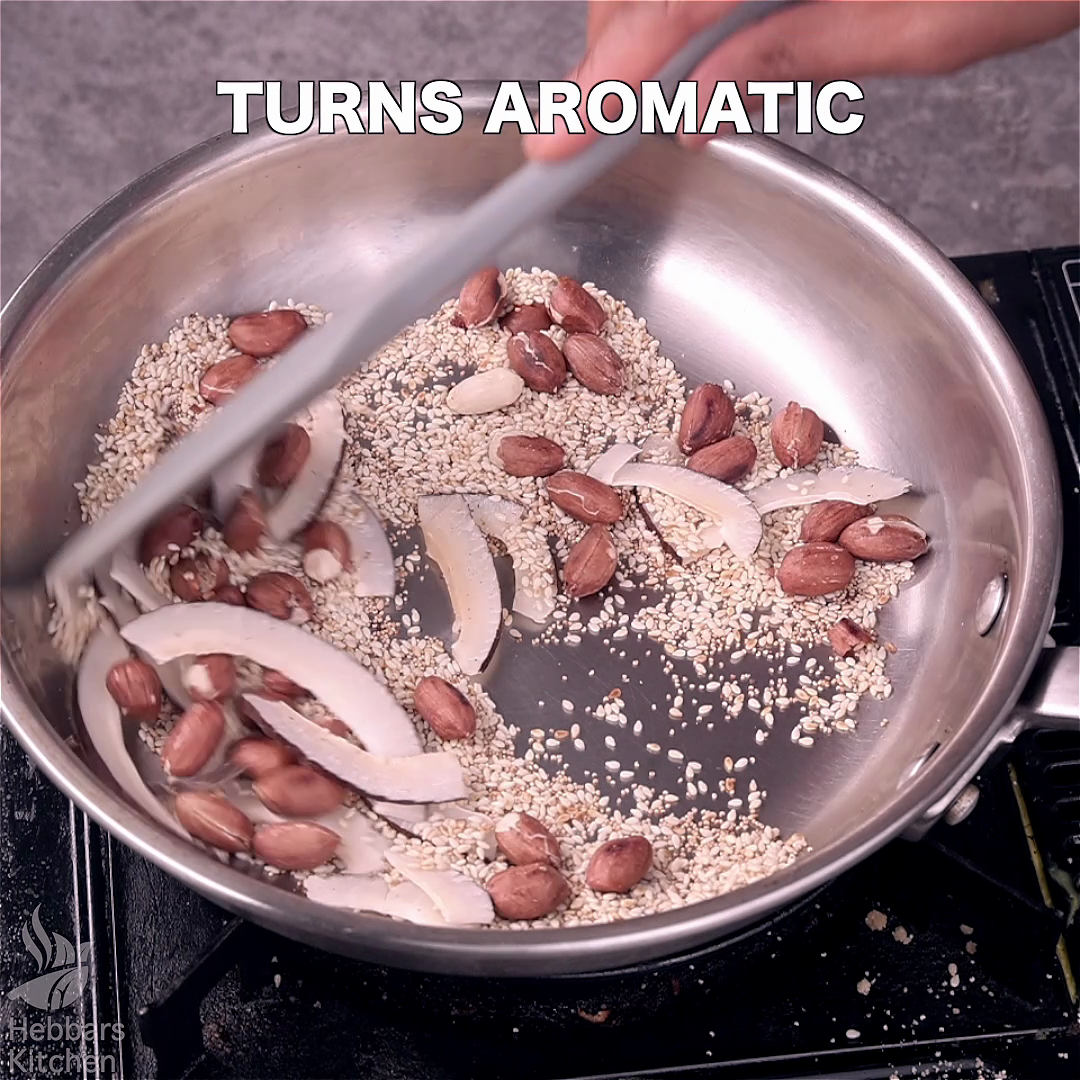
3. Dry roast on a low flame till the spices turn aromatic.
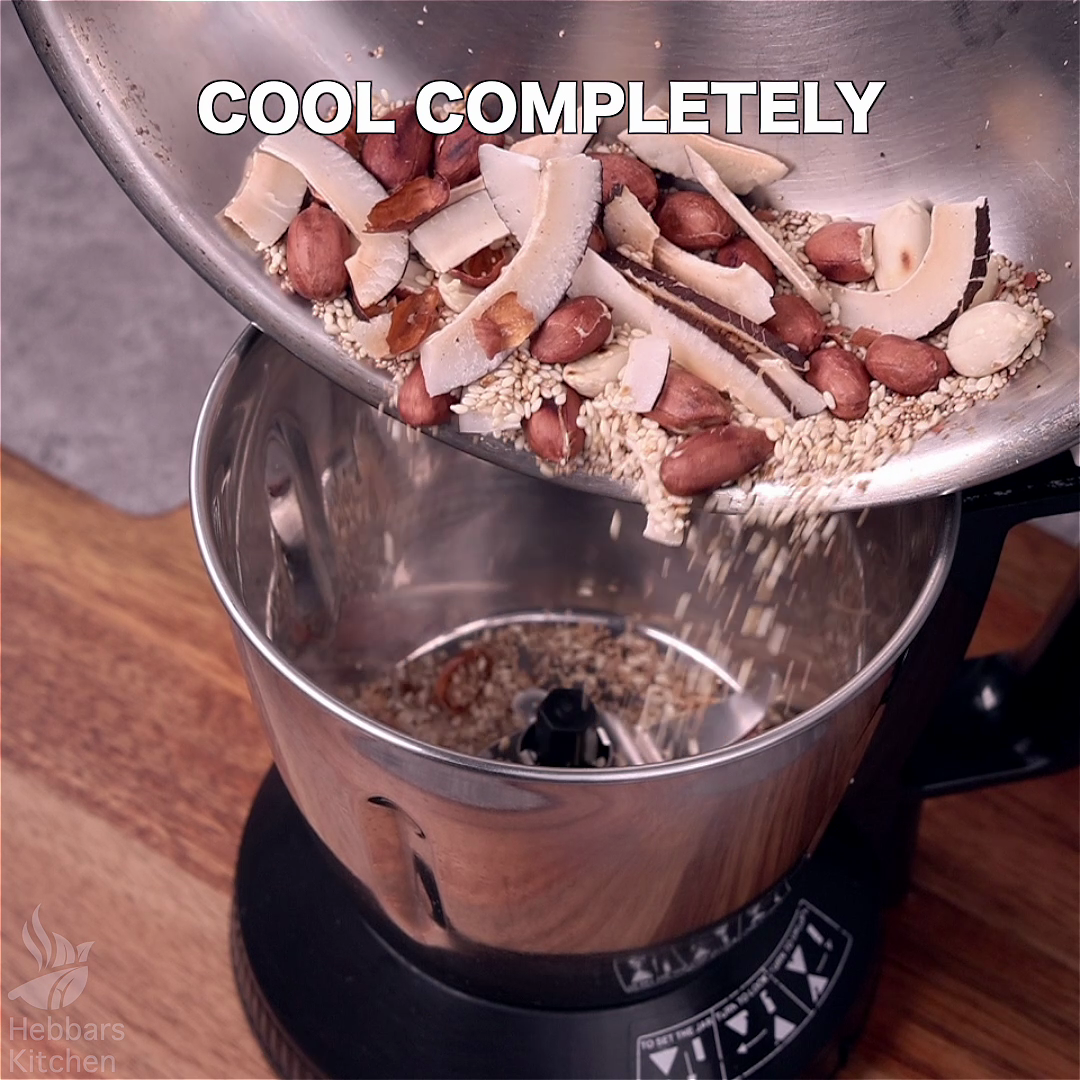
4. Cool completely, and transfer to the mixer jar.
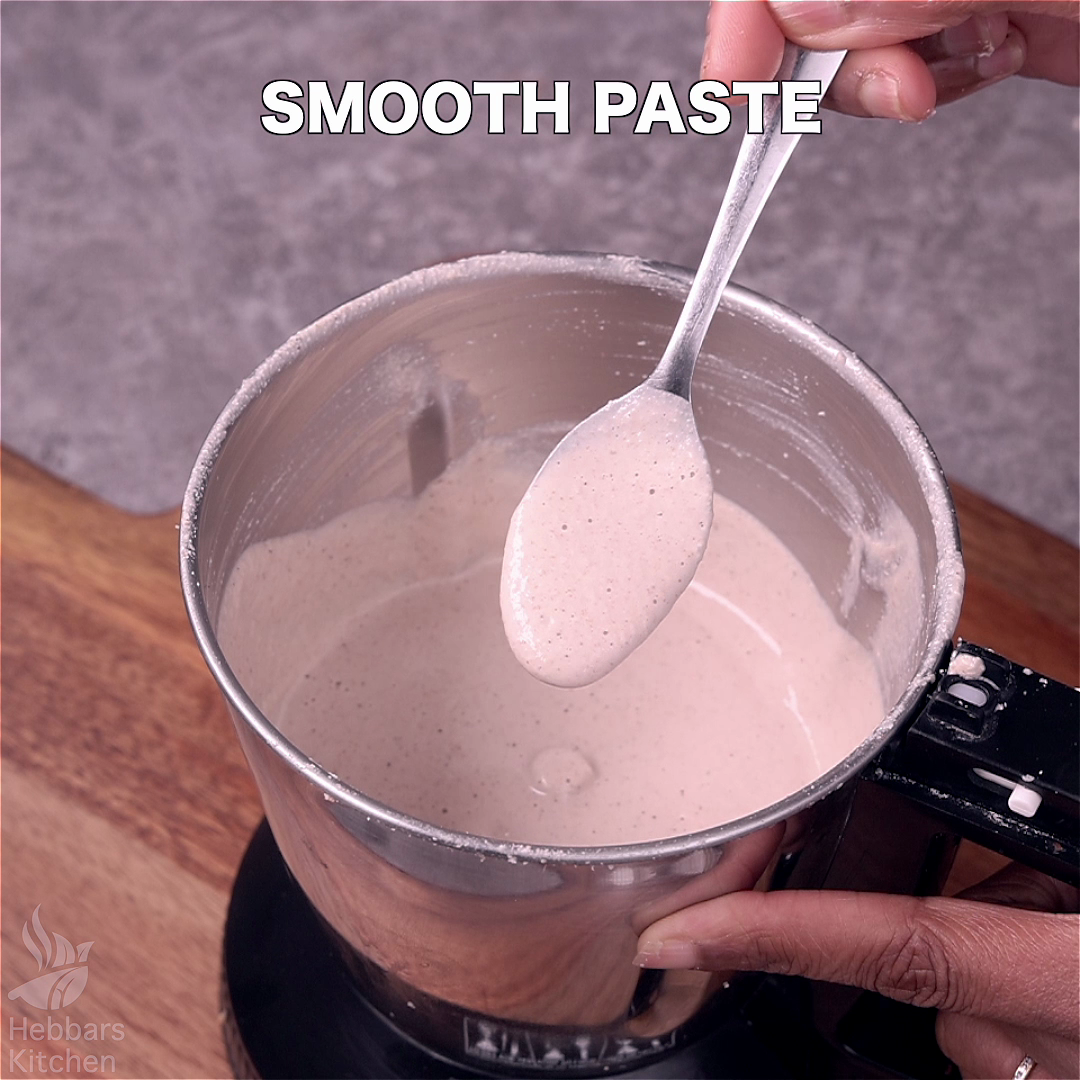
5. Add a small piece of tamarind, add water and grind to a smooth paste. Keep aside.
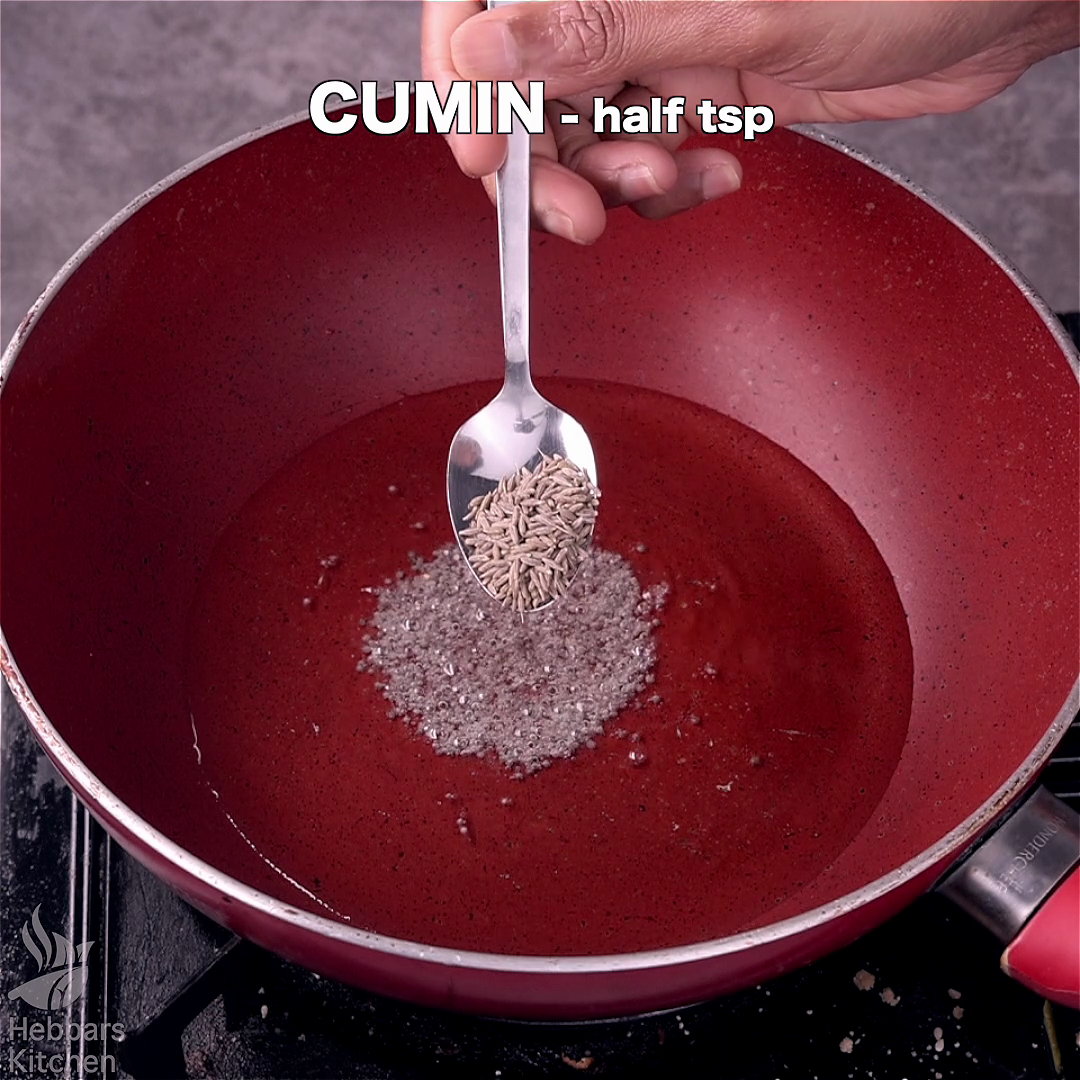
6. In a kadai, heat 3 tablespoons of oil. Add ½ tsp mustard, ½ tsp cumin, ¼ tsp methi, a pinch of hing and a few curry leaves.
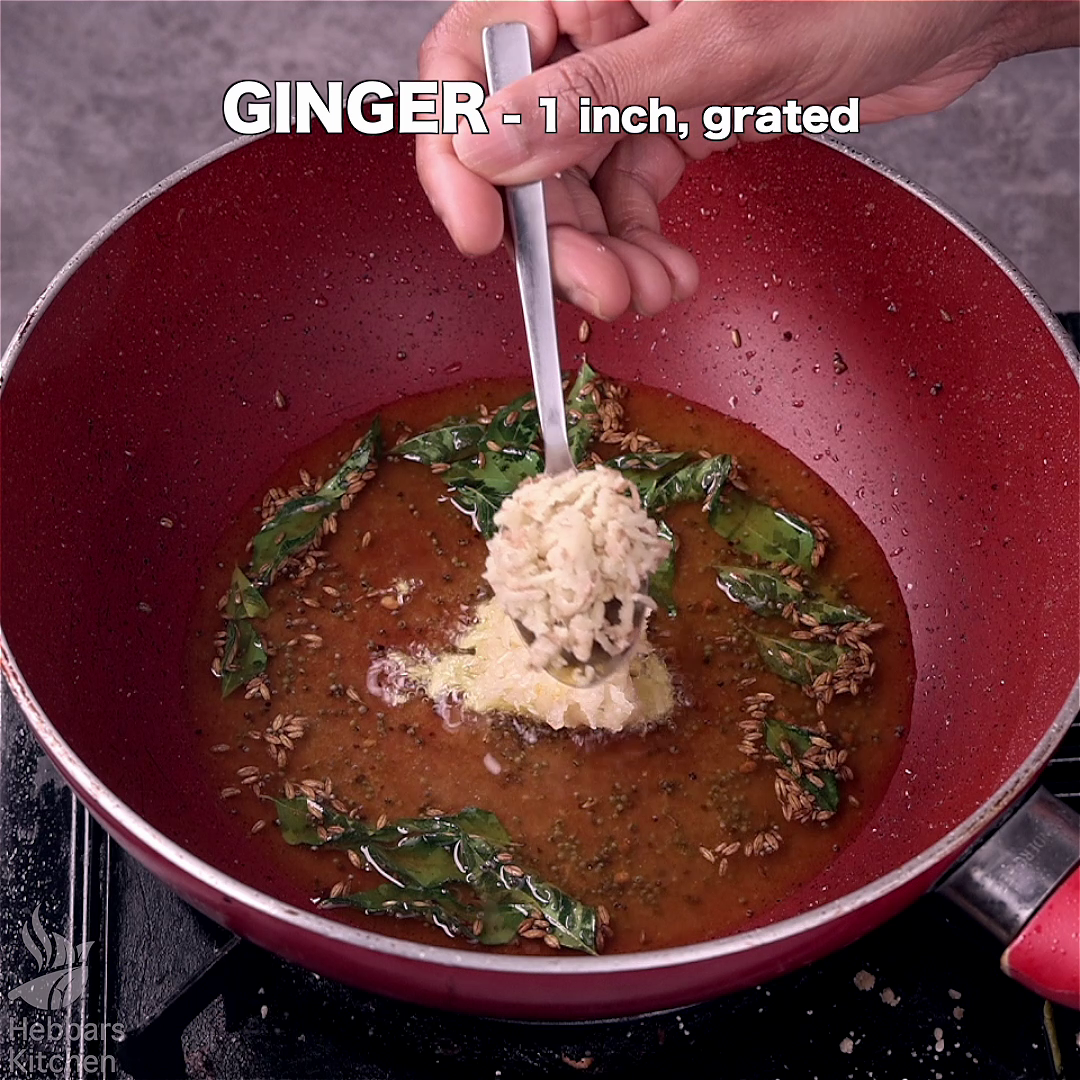
7. Splutter the tempering. Also add ½ tsp of turmeric, 5 cloves of garlic, and 1 inch of ginger, and sauté well.
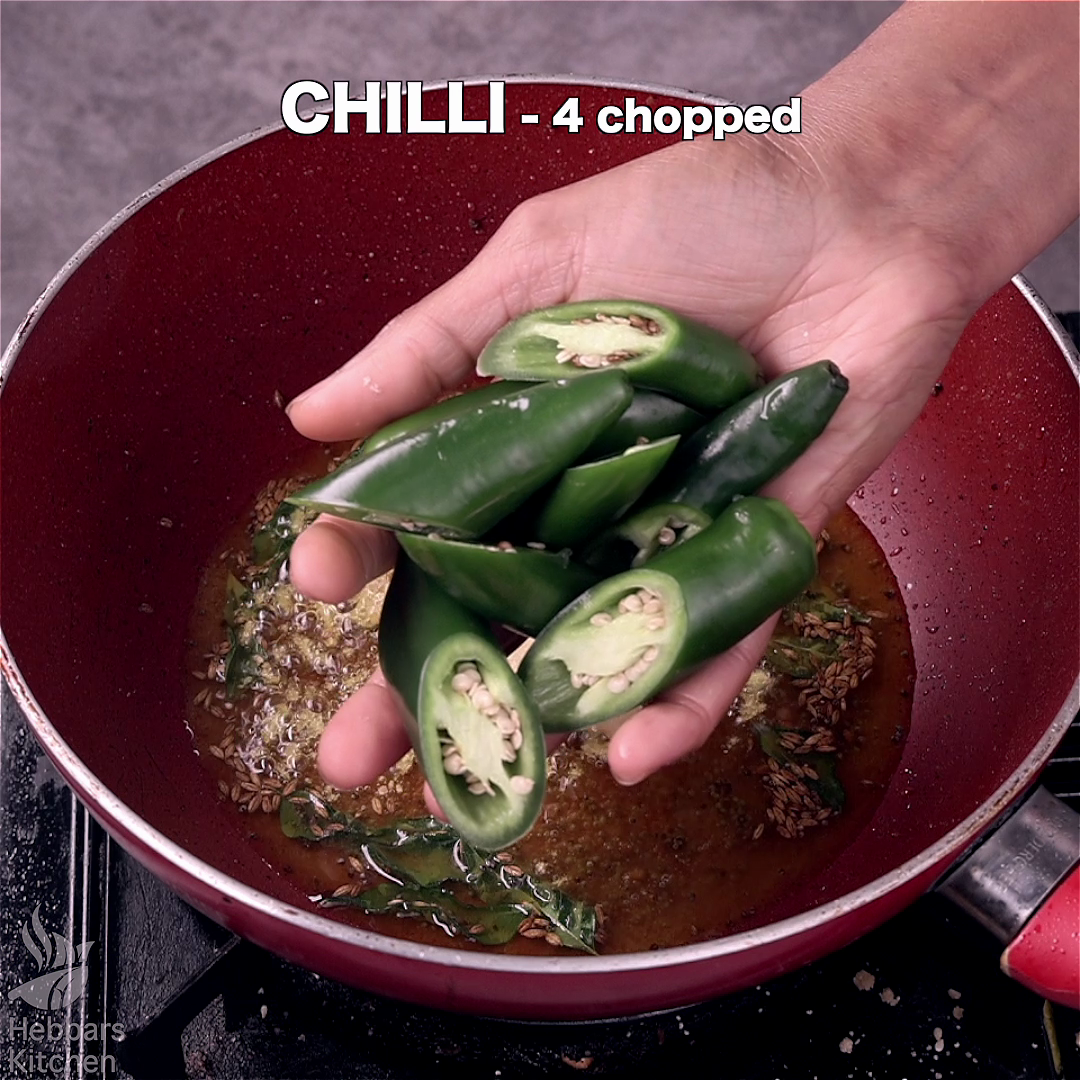
8. Now add 4 chilli and saute for a minute.
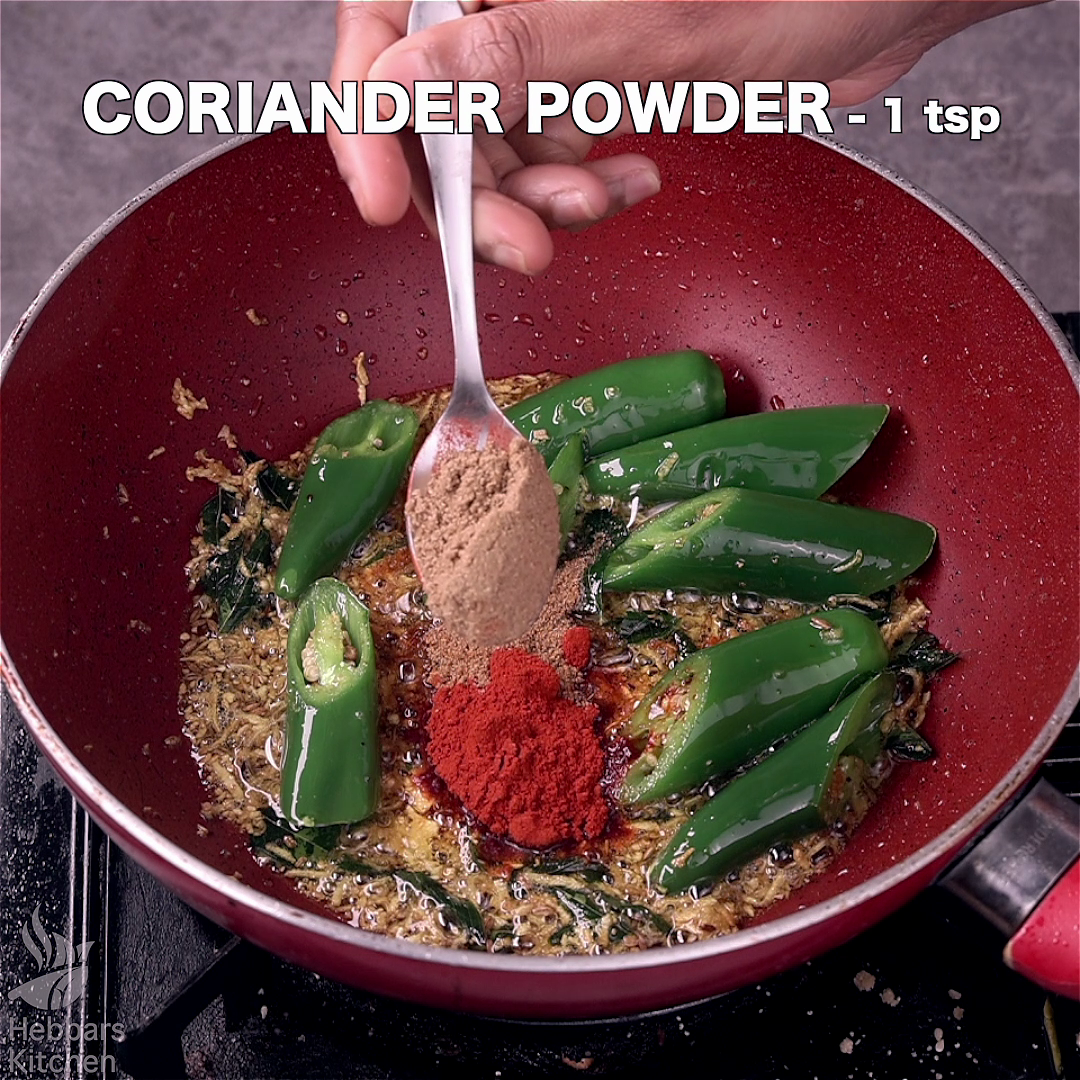
9. Keeping the flame on low, add 1 tsp chilli powder, ½ tsp cumin powder, 1 tsp coriander powder, 1 tsp garam masala. and 1 tsp salt. Sauté till the spices turn aromatic.
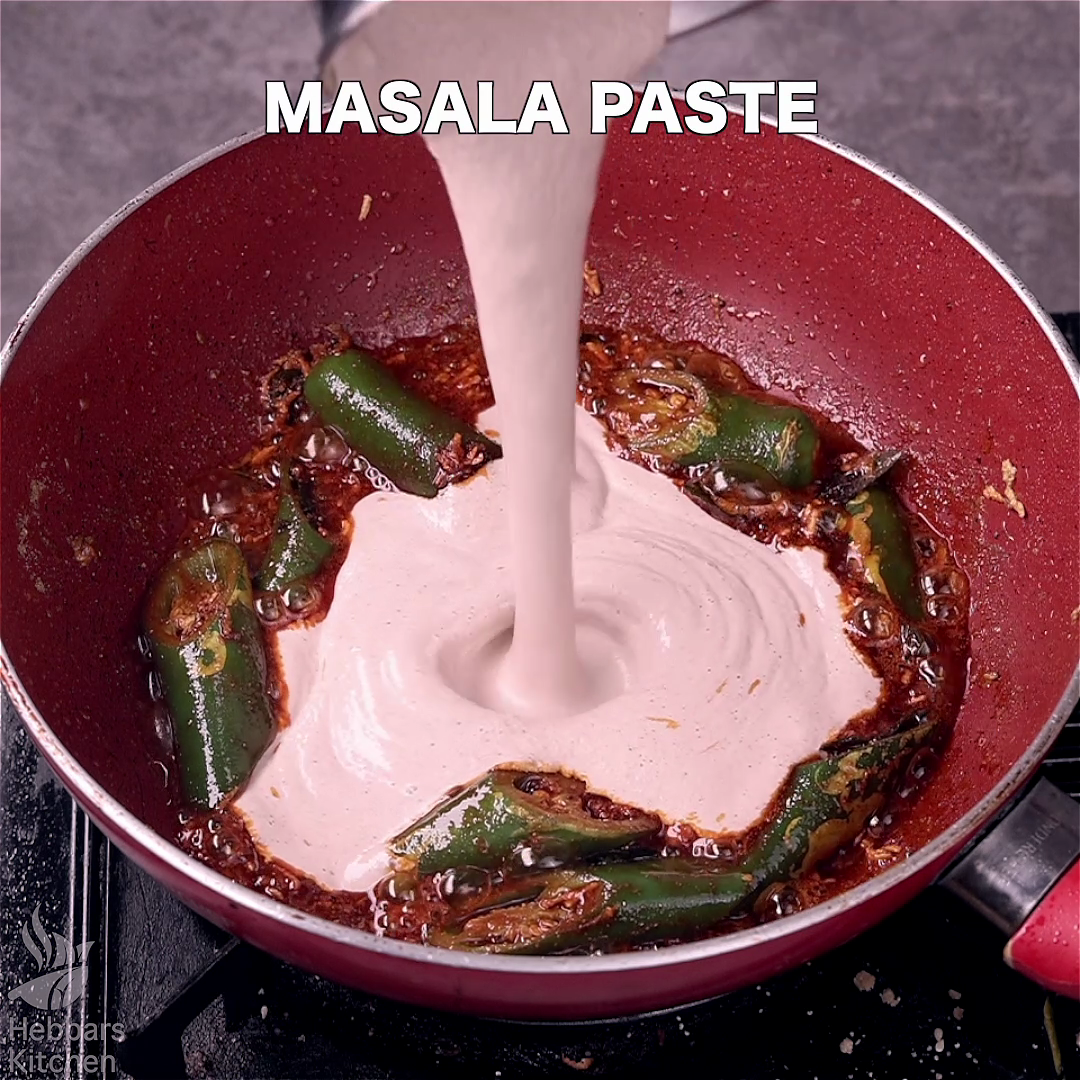
10. Further add prepared masala paste and cook till the oil separates.
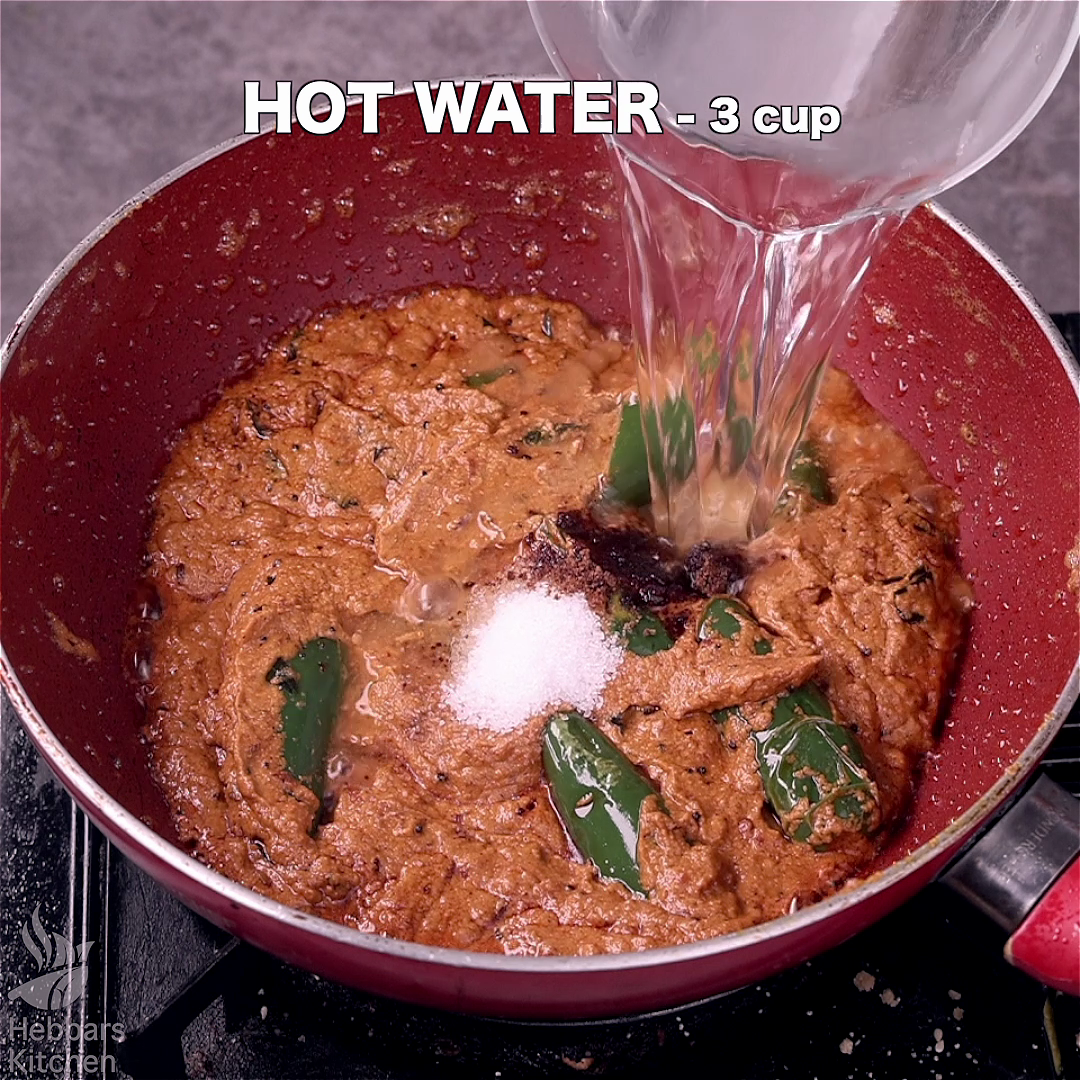
11. Add 1 tsp salt, 1 tsp jaggery, 3 cups of hot water.
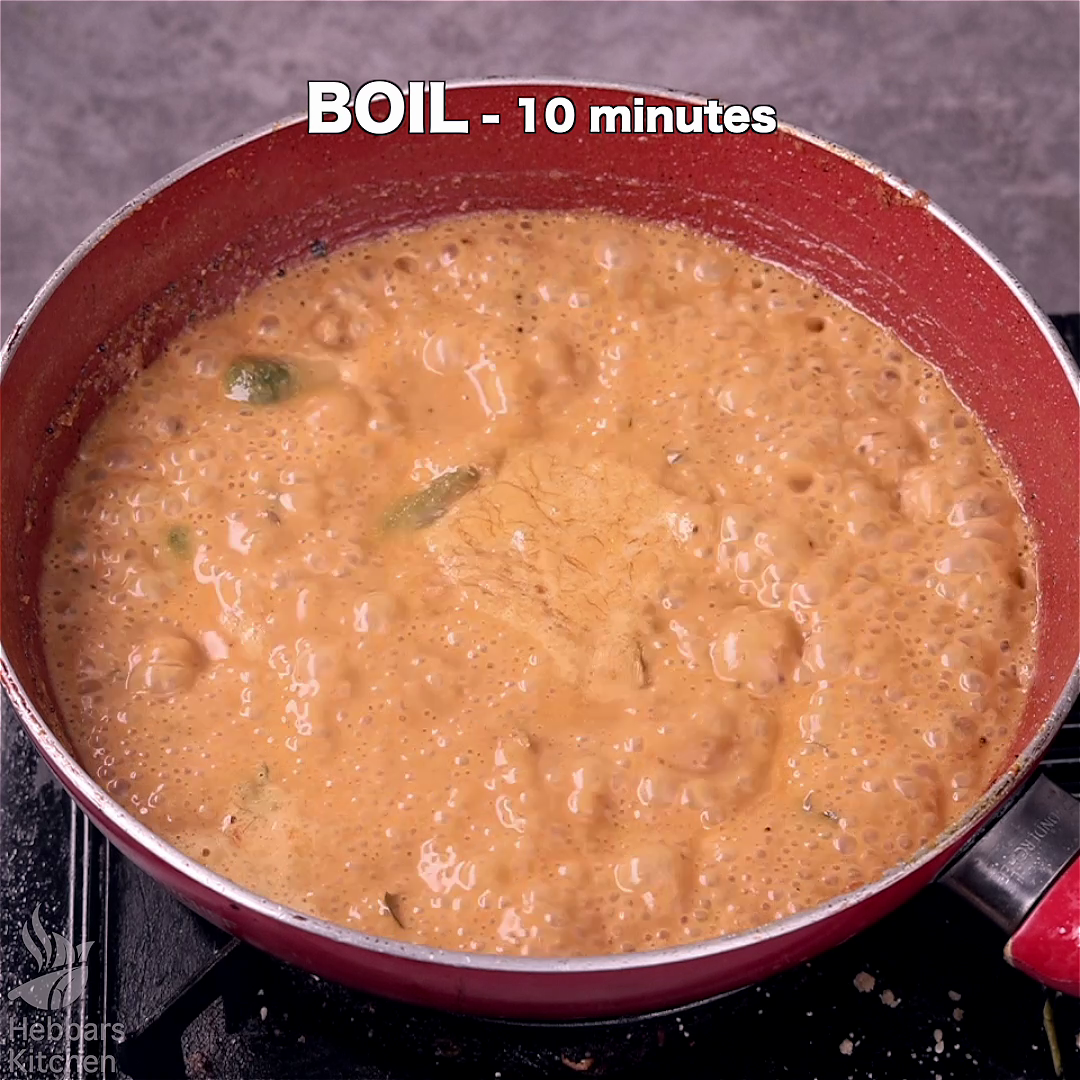
12. Mix well and boil for 10 minutes or until the oil separates.
13. Finally, enjoy Mirchi Ka Salan Recipe with Biryani.
## Step-by-step
Firstly, in a pan, dry-roast ¼ cup of peanuts until they turn crunchy.
Add 2 tbsp sesame, 2 tsp poppy seeds and 2 tbsp dry coconut.
Dry roast on a low flame till the spices turn aromatic.
Cool completely, and transfer to the mixer jar.
Add a small piece of tamarind, add water and grind to a smooth paste. Keep aside.
In a kadai, heat 3 tablespoons of oil. Add ½ tsp mustard, ½ tsp cumin, ¼ tsp methi, a pinch of hing and a few curry leaves.
Splutter the tempering. Also add ½ tsp of turmeric, 5 cloves of garlic, and 1 inch of ginger, and sauté well.
Now add 4 chilli and saute for a minute.
Keeping the flame on low, add 1 tsp chilli powder, ½ tsp cumin powder, 1 tsp coriander powder, 1 tsp garam masala. and 1 tsp salt. Sauté till the spices turn aromatic.
Further add prepared masala paste and cook till the oil separates.
Add 1 tsp salt, 1 tsp jaggery, 3 cups of hot water.
Mix well and boil for 10 minutes or until the oil separates.
Finally, enjoy **Mirchi Ka Salan Recipe** with Biryani.
## Video
## Tips
**Mirchi ka Salan Recipe – Restaurant Style** is a rich and creamy curry made with peanuts, sesame seeds, and tamarind. It adds flavour, moisture, and balance to Hyderabadi biryani, while also serving as a versatile gravy for everyday meals.
1. **Roasting:** Roast peanuts, sesame seeds, and coconut until golden brown. This step builds the deep, nutty base that gives the curry its signature taste.
2. **Blending:** Grind the roasted mix into a fine paste. A smooth paste ensures a creamy consistency without lumps.
3. **Sauté:** Cook the paste until the oil separates from the paste. This enhances flavour and removes the rawness from the nuts and spices.
4. **Spice Balance:** Use mild green chillies and tamarind to balance heat and tang. The flavours should be rich yet gentle on the palate.
5. **Consistency:** Add water gradually to achieve a medium-thick texture. The curry should coat the back of a spoon but still flow smoothly with rice or roti.
## FAQ
Mirchi ka Salan is made with roasted peanuts, sesame seeds, coconut, and green chillies. These ingredients blend into a smooth and rich paste. The mixture forms the base of the curry. Tamarind adds a slight tang to the flavour. A mix of spices brings warmth and depth.
It adds moisture and flavour to layered Hyderabadi Dum Biryani. The creamy curry helps balance the spice and enhances the overall biryani experience.
Yes, you can refrigerate it in an airtight container for up to three days. Reheat gently before serving and add a little water if it thickens.
Use mild green chillies for less heat or increase the number for a spicier taste. Adjust tamarind to balance the tanginess.
It pairs beautifully with roti, chapati, parotta, or even plain rice and vegetable pulao. The nutty and tangy flavour complements many Indian dishes.
## Notes
* Firstly, if you feel the chilli is very spicy, then remove the seeds before frying.
* Additionally, adding a generous amount of oil will help make the curry more flavorful.
* Additionally, a small piece of jaggery will help to balance the flavour. However, it is optional.
* Finally, **Mirchi Ka Salan recipe** stays good for 4 days when refrigerated.
Original recipe by Hebbar's Kitchen: [https://hebbarskitchen.com/mirchi-ka-salan-recipe-mirchi-salan/](https://hebbarskitchen.com/mirchi-ka-salan-recipe-mirchi-salan/)