> ## Documentation Index
> Fetch the complete documentation index at: https://cookbook.mantavyam.com/llms.txt
> Use this file to discover all available pages before exploring further.
# Pressure Cooker Veg Biryani Recipe
## About Pressure Cooker Biryani
It is basically a quick or cheat version of the traditional biryani rice recipe cooked in a pressure cooker for quick turnaround. In other words, **pressure cooker biryani** is a cutdown version of the dum or slow-cooked biryani with all ingredients dumped into an instant pot. This convenient or efficient way is widely accepted across India due to the fact that there is no compromise on taste and flavor.
The most common recipe is to cook meat and rice with biryani marinated sauce and gravy. However, the same recipe steps and process is used to make a veg or vegetable biriyani for a faster way of preparation. Due to the nature of pressure cooking, the rice, vegetables, and all the spices and herbs are cooked together. This ensures the rice is fully flavored with all flavors infused into it. Hence, there is no additional side or condiments required for this biryani when served.
## Why does this recipe work?
As explained earlier, it is a popular and efficient way of cooking traditional biryani rice. The popularity is mainly due to the following factors,
1. **Quick preparation –** The rice, vegetables, and even all the biryani sauce and spices are cooked together in a sealed pot. This hastens the cooking process compared to authentic dum cooking.
2. **Moisture Retention –** Due to the biriyani being cooked in a sealed pot, the moisture is retained and is not lost. Therefore, the end product or the cooked rice is moist and hence does not require additional condiments.
3. **Ease of cooking –** The cooking is entirely done in a pressure cooker with all the ingredients added directly to the instant pot. Therefore, it does not require additional monitoring, or even cooking rice and gravy separately.
4. **Even heat distribution –** when any recipe is cooked in a pressure cooker, it helps to distribute the heat evenly and hence hasten the cooking. This also helps, to distribute the flavor and uniform cooking without any over or under-cooked.
## Step-by-step
firstly, in a cooker heat 2 tbsp oil, 2 tbsp ghee. add spices and saute until it turns aromatic.
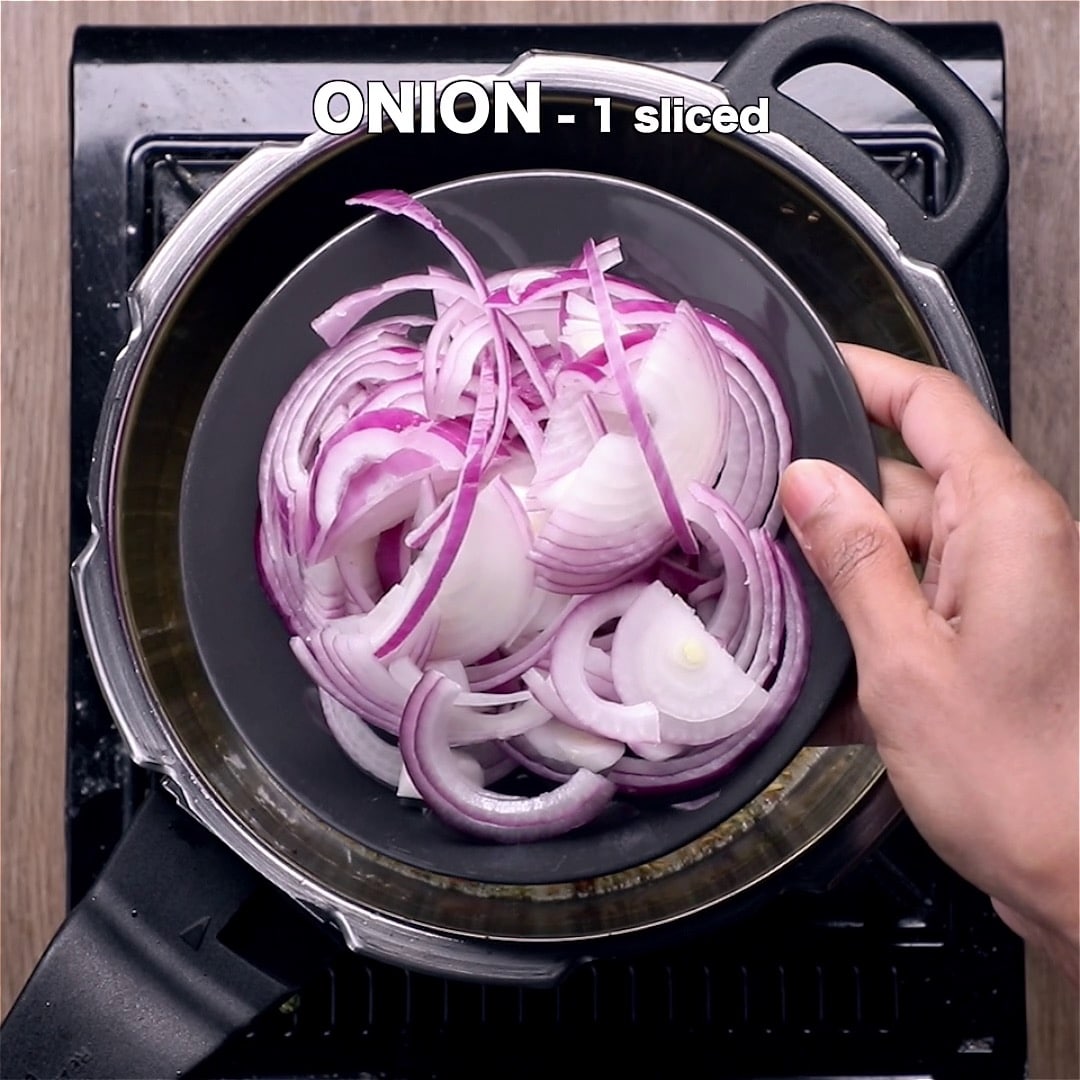
add 1 onion, 1 tbsp ginger garlic paste and saute until the onion turns golden brown.
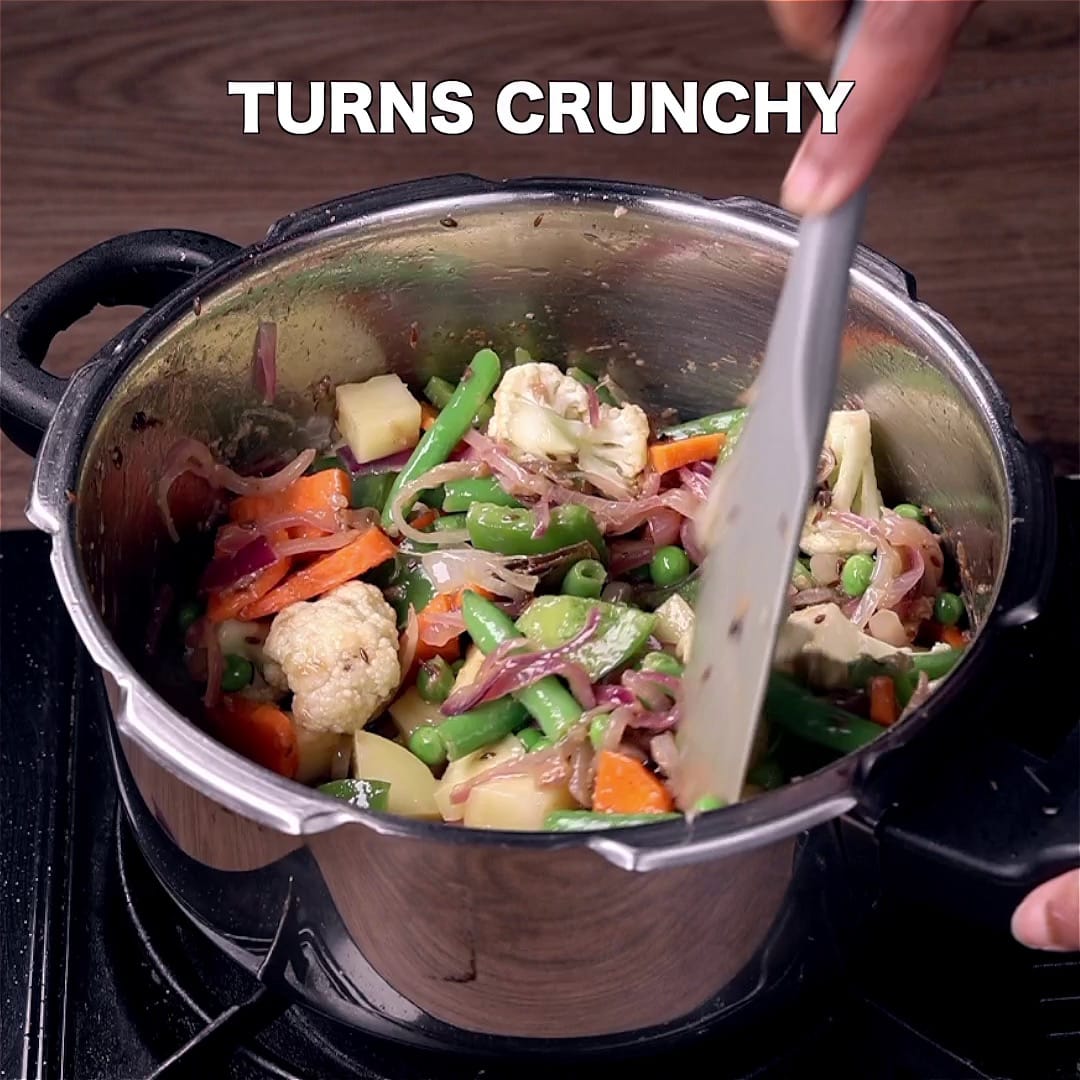
further add 1 carrot, 1 potato, 5 beans, 3 tbsp peas, 5 florets gobi, ½ capsicum.
add 1 tsp salt and stir fry for 2 minutes or until the vegetables turn crunchy.
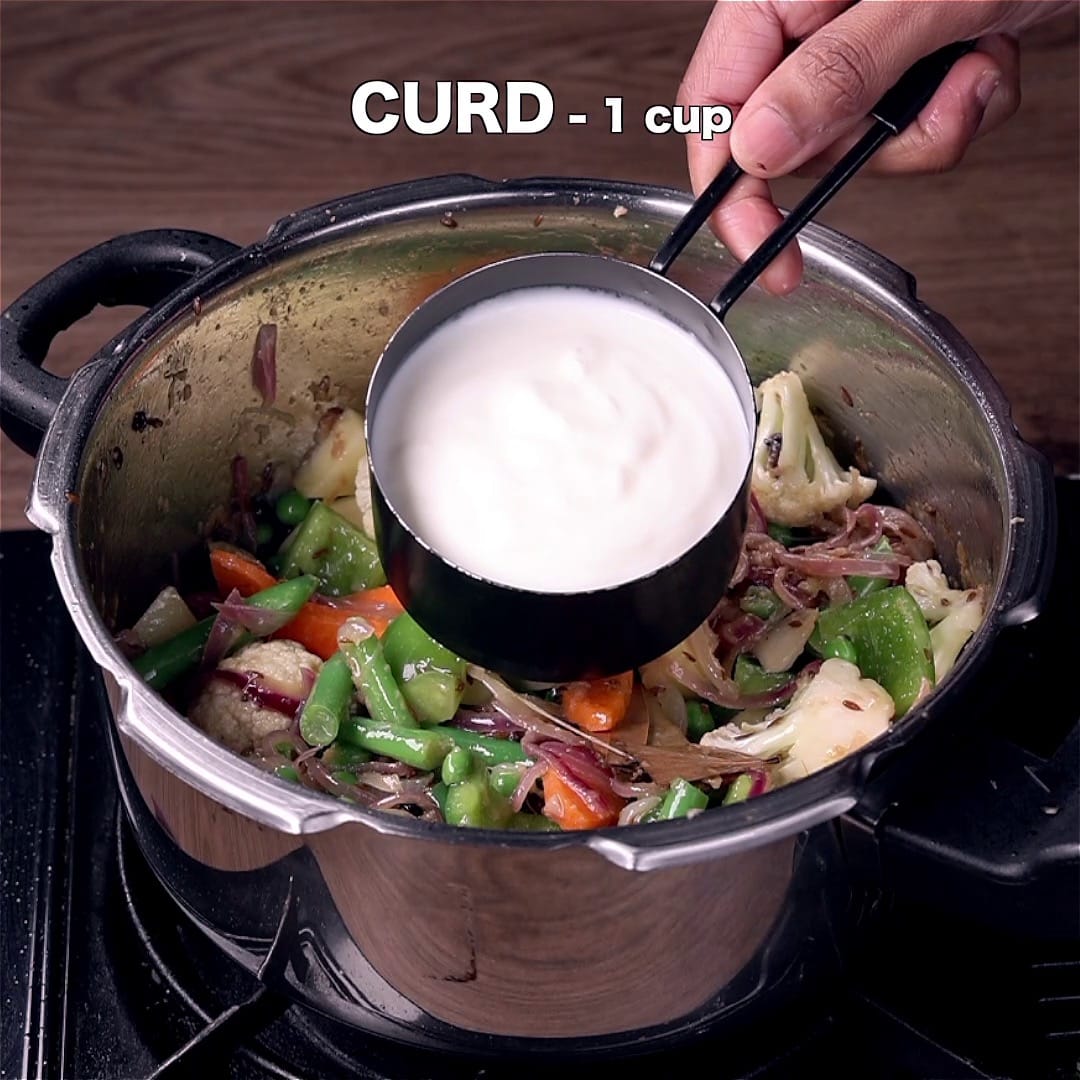
further, add 1 cup of curd and mix well.
now add 2 tsp biryani masala, 1 tsp chilli powder, ½ tsp turmeric, and cook until the oil separates from the sides.
pour in 1 cup of water. add 2 tbsp mint, 2 tbsp coriander, and 2 tbsp fried onion.
spread 1½ cup basmati rice in batches forming the layers.
layer with rice, coriander, mint, and fried onions. also sprinkle 1 tsp biryani masala, 1 tsp ghee on top.
further pour 1½ cup water from the sides, 2 tbsp turmeric milk. cover and pressure cook on a medium flame for 2 whistles.
once the pressure settles down, fluff the rice gently or transfer it into the large vessel to avoid rice from turning mushy from the bottom.
finally, enjoy **Cooker Veg Biryani** with raita and salan.
## Video
## Notes
* Firstly, make sure to soak the rice for at least 20 minutes, else the rice will not get cooked well.
* Also, add vegetables to your choice, to make the biryani nutritious.
* Additionally, adding curd gives a nice sourness to the biryani. do not skip it.
* Finally, the **Cooker Veg Biryani recipe** tastes great when served after 1 hour.
Original recipe by Hebbar's Kitchen: [https://hebbarskitchen.com/veg-biryani-cooker-vegetable-biryani/](https://hebbarskitchen.com/veg-biryani-cooker-vegetable-biryani/)




 ## About Pressure Cooker Biryani
It is basically a quick or cheat version of the traditional biryani rice recipe cooked in a pressure cooker for quick turnaround. In other words, **pressure cooker biryani** is a cutdown version of the dum or slow-cooked biryani with all ingredients dumped into an instant pot. This convenient or efficient way is widely accepted across India due to the fact that there is no compromise on taste and flavor.
The most common recipe is to cook meat and rice with biryani marinated sauce and gravy. However, the same recipe steps and process is used to make a veg or vegetable biriyani for a faster way of preparation. Due to the nature of pressure cooking, the rice, vegetables, and all the spices and herbs are cooked together. This ensures the rice is fully flavored with all flavors infused into it. Hence, there is no additional side or condiments required for this biryani when served.
## Why does this recipe work?
As explained earlier, it is a popular and efficient way of cooking traditional biryani rice. The popularity is mainly due to the following factors,
1. **Quick preparation –** The rice, vegetables, and even all the biryani sauce and spices are cooked together in a sealed pot. This hastens the cooking process compared to authentic dum cooking.
2. **Moisture Retention –** Due to the biriyani being cooked in a sealed pot, the moisture is retained and is not lost. Therefore, the end product or the cooked rice is moist and hence does not require additional condiments.
3. **Ease of cooking –** The cooking is entirely done in a pressure cooker with all the ingredients added directly to the instant pot. Therefore, it does not require additional monitoring, or even cooking rice and gravy separately.
4. **Even heat distribution –** when any recipe is cooked in a pressure cooker, it helps to distribute the heat evenly and hence hasten the cooking. This also helps, to distribute the flavor and uniform cooking without any over or under-cooked.
## Step-by-step
## About Pressure Cooker Biryani
It is basically a quick or cheat version of the traditional biryani rice recipe cooked in a pressure cooker for quick turnaround. In other words, **pressure cooker biryani** is a cutdown version of the dum or slow-cooked biryani with all ingredients dumped into an instant pot. This convenient or efficient way is widely accepted across India due to the fact that there is no compromise on taste and flavor.
The most common recipe is to cook meat and rice with biryani marinated sauce and gravy. However, the same recipe steps and process is used to make a veg or vegetable biriyani for a faster way of preparation. Due to the nature of pressure cooking, the rice, vegetables, and all the spices and herbs are cooked together. This ensures the rice is fully flavored with all flavors infused into it. Hence, there is no additional side or condiments required for this biryani when served.
## Why does this recipe work?
As explained earlier, it is a popular and efficient way of cooking traditional biryani rice. The popularity is mainly due to the following factors,
1. **Quick preparation –** The rice, vegetables, and even all the biryani sauce and spices are cooked together in a sealed pot. This hastens the cooking process compared to authentic dum cooking.
2. **Moisture Retention –** Due to the biriyani being cooked in a sealed pot, the moisture is retained and is not lost. Therefore, the end product or the cooked rice is moist and hence does not require additional condiments.
3. **Ease of cooking –** The cooking is entirely done in a pressure cooker with all the ingredients added directly to the instant pot. Therefore, it does not require additional monitoring, or even cooking rice and gravy separately.
4. **Even heat distribution –** when any recipe is cooked in a pressure cooker, it helps to distribute the heat evenly and hence hasten the cooking. This also helps, to distribute the flavor and uniform cooking without any over or under-cooked.
## Step-by-step